
Years ago, long before this current generation, we had people that planned for shortages and disasters. They learned a lot from the great depression, the dust bowl and more. Many of those skills were acquired during the pioneer and settler days and considered common knowledge. Now we have people that can’t grow anything and have no clue how to feed themselves if it doesnt come from a grocery store.
So let’s examine building a modern victory garden, you’re needs maybe different, but this will show how to start with a simple space and prepare it so you can get a crop and a near term food source. We’ll assume you’re starting from scratch and have never gardened a minute in your life.

First, decide where you’re going to place it in your targeted space, certain things need to be considered such as how close is your water source? What does drainage look like? Does it get too much or insufficient sun? It can be trial and error, keep in mind when a seed or starter says “full sun” that’s different in the northern latitudes of N.A. vs. the central latitudes closer to Mexico. That full sun can indeed cook your crop and you’ll have wasted valuable time and money if you don’t adjust accordingly. Also pest proof your area, whether it’s your dogs, rodents, etc, this will save grief later.
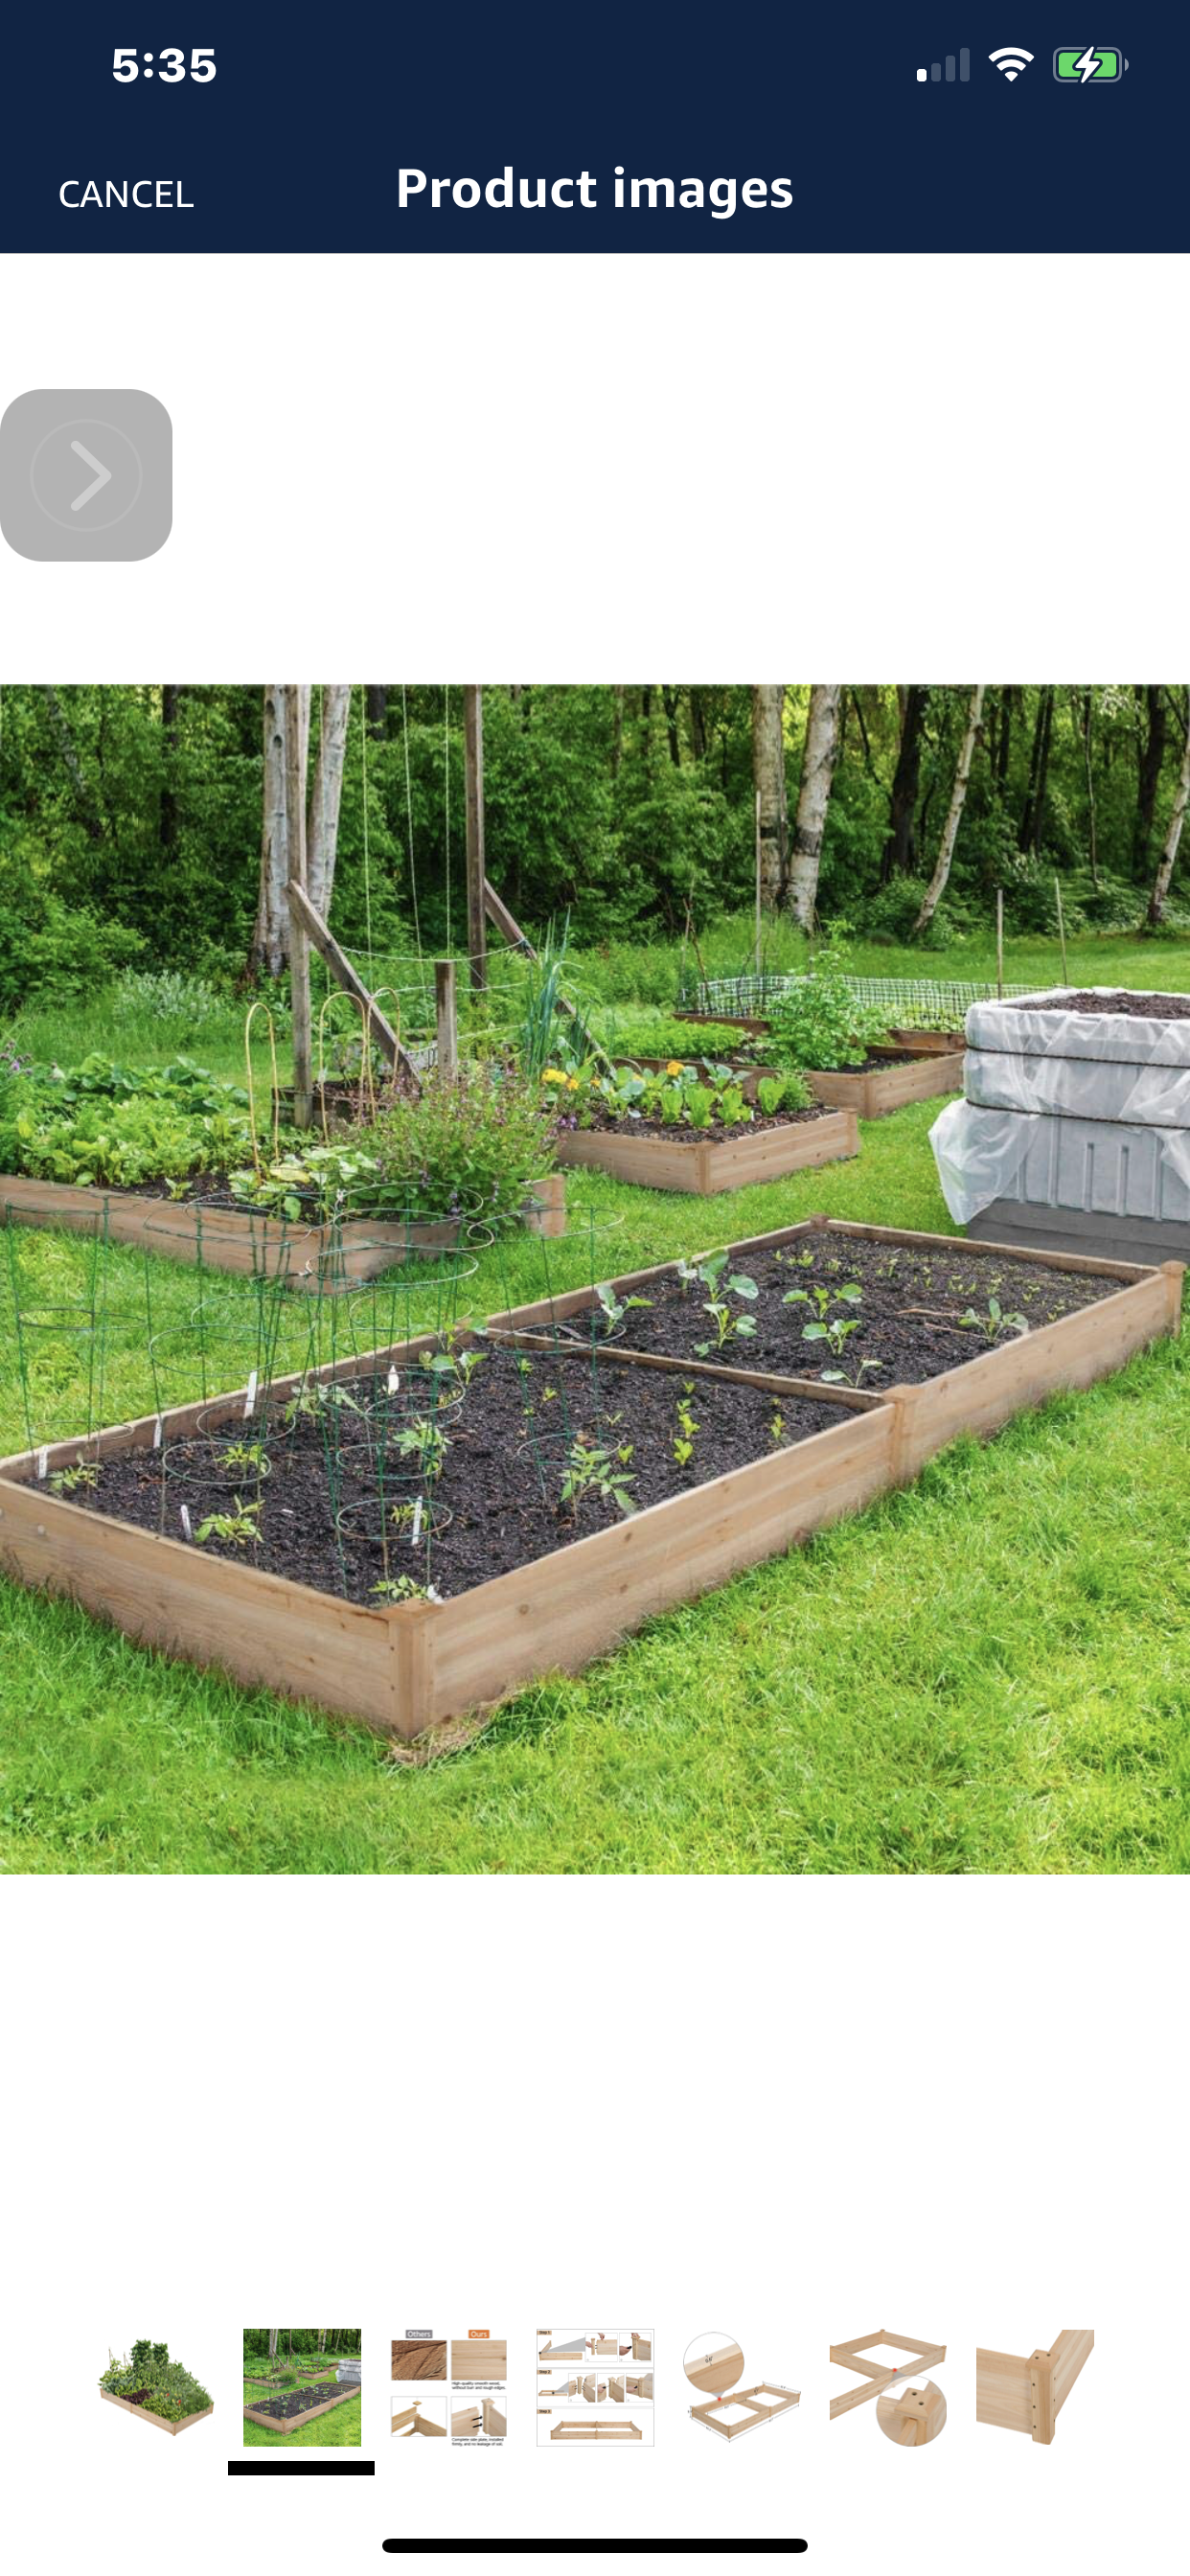
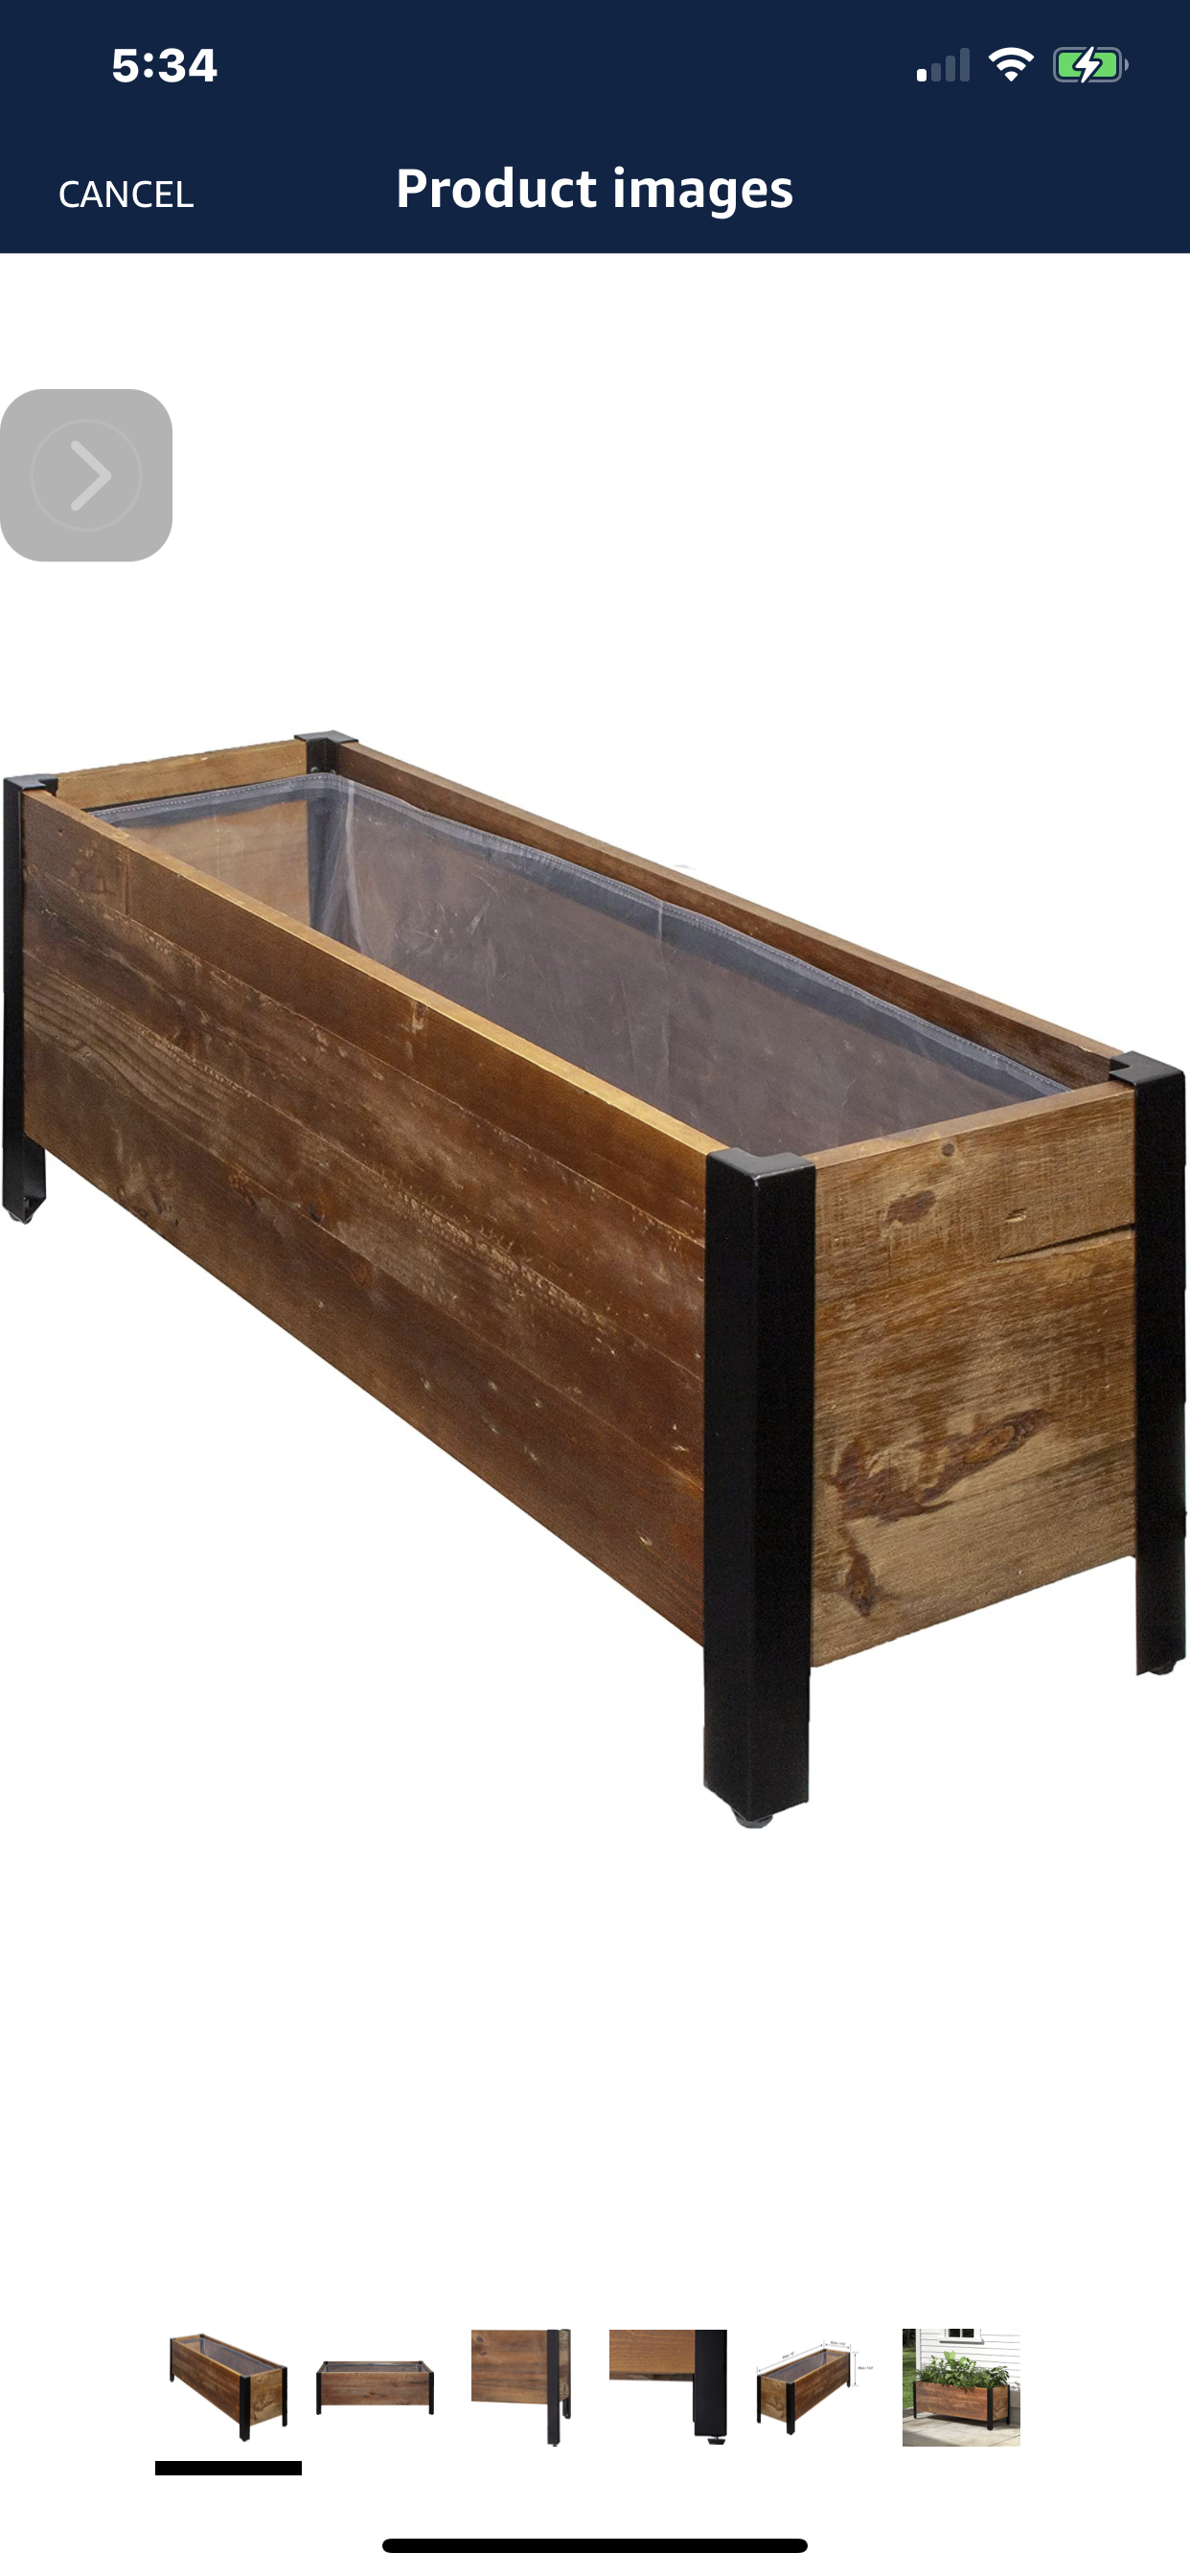
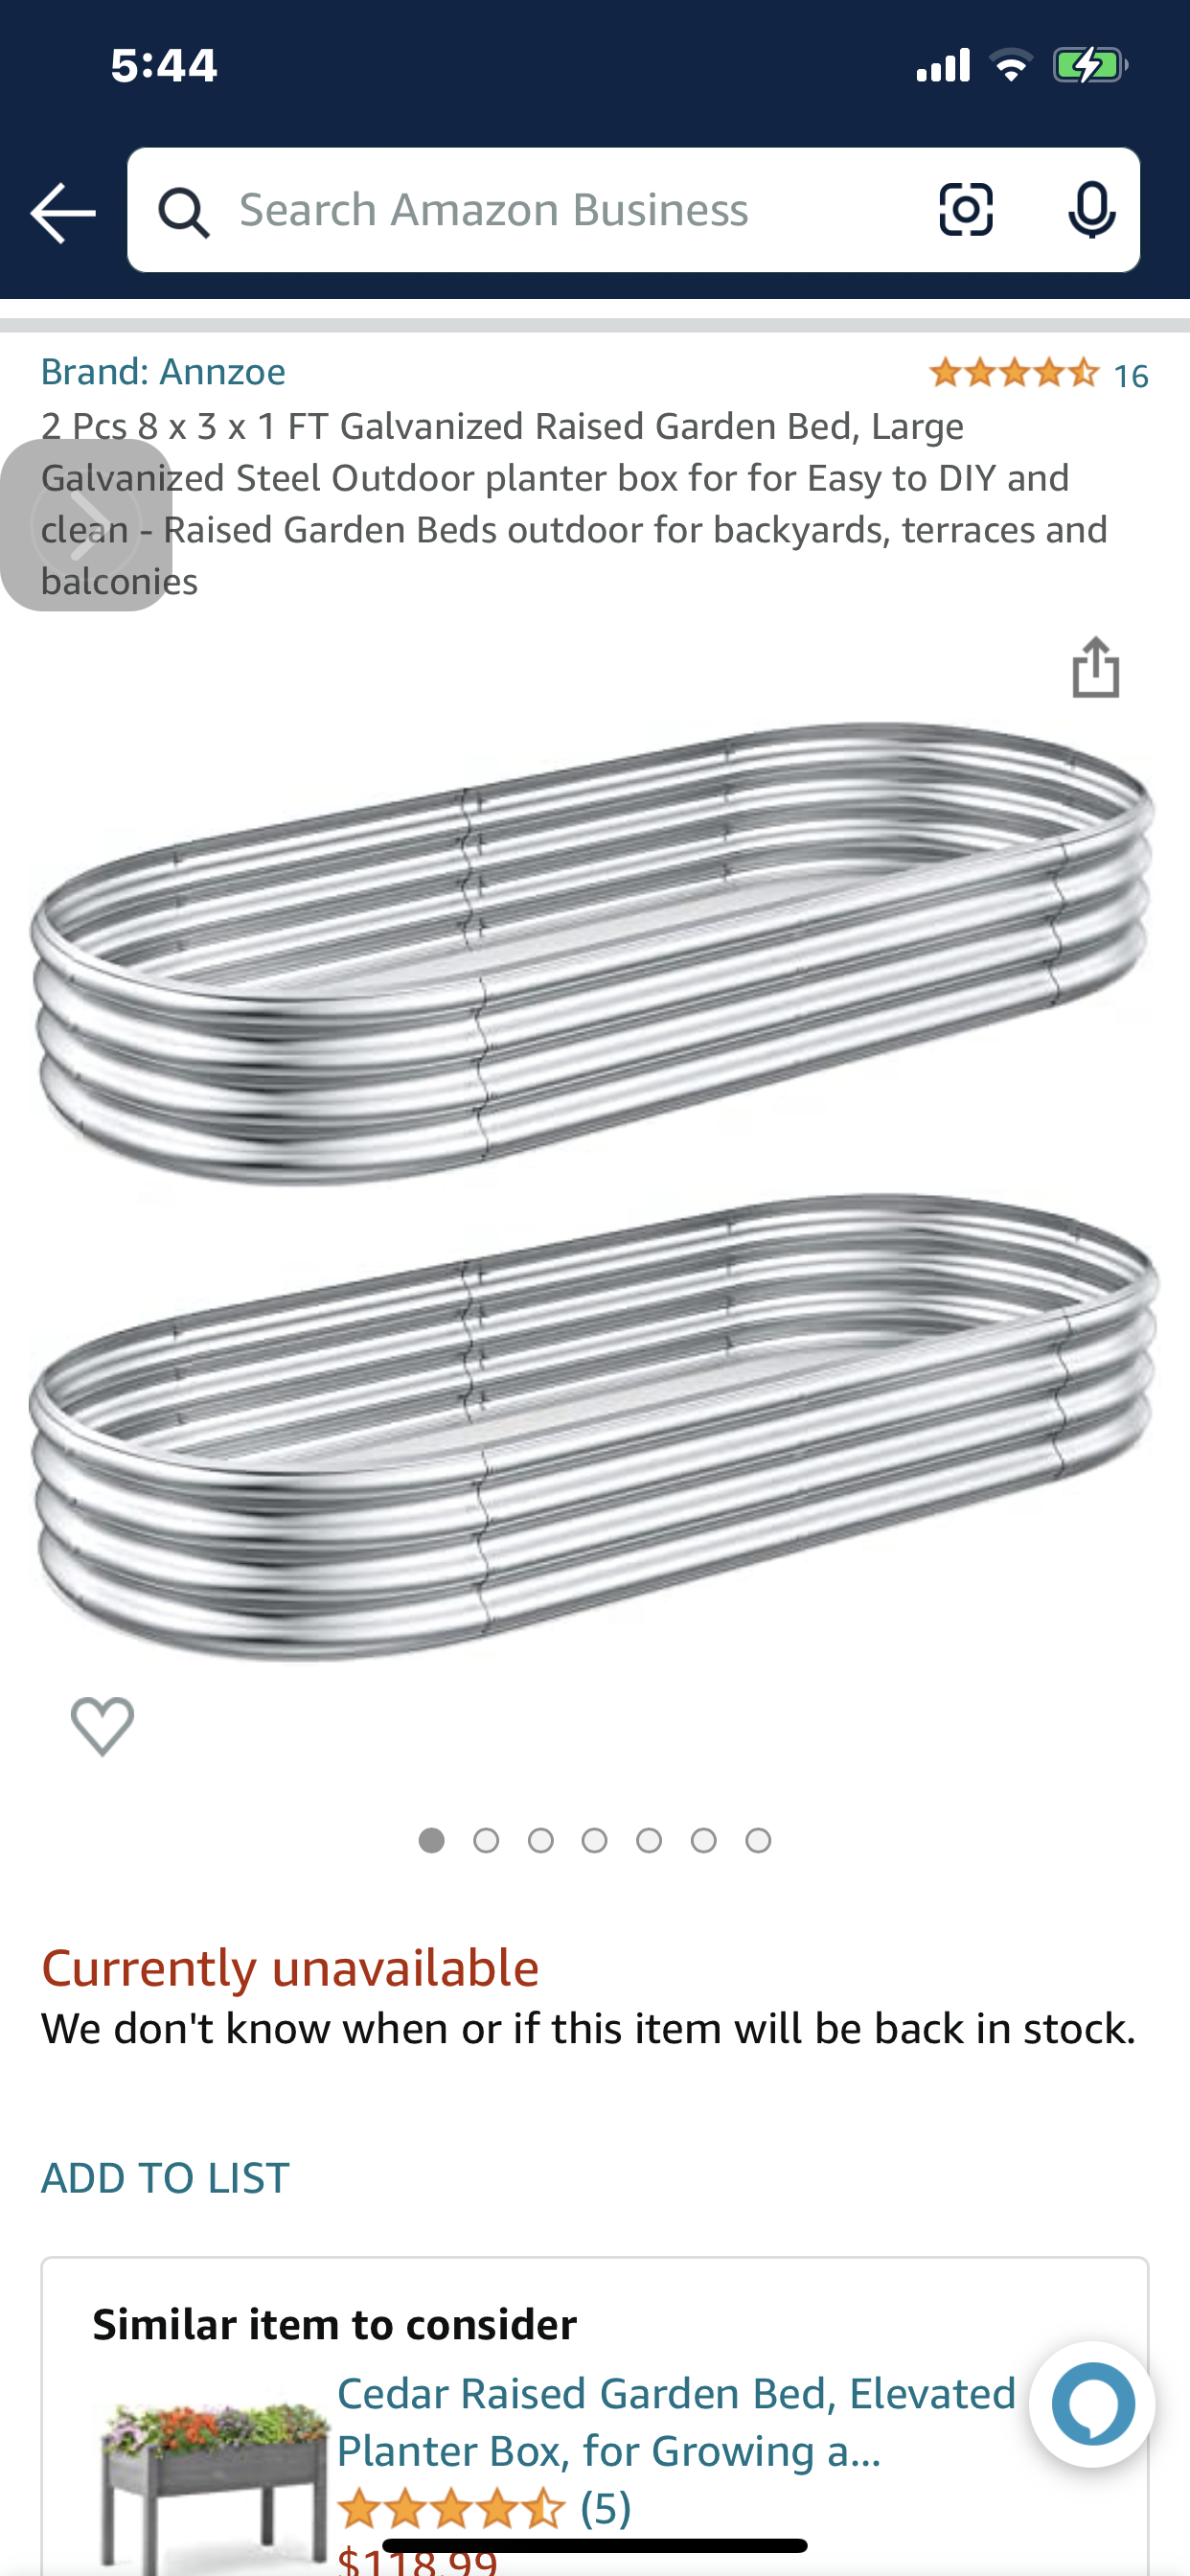
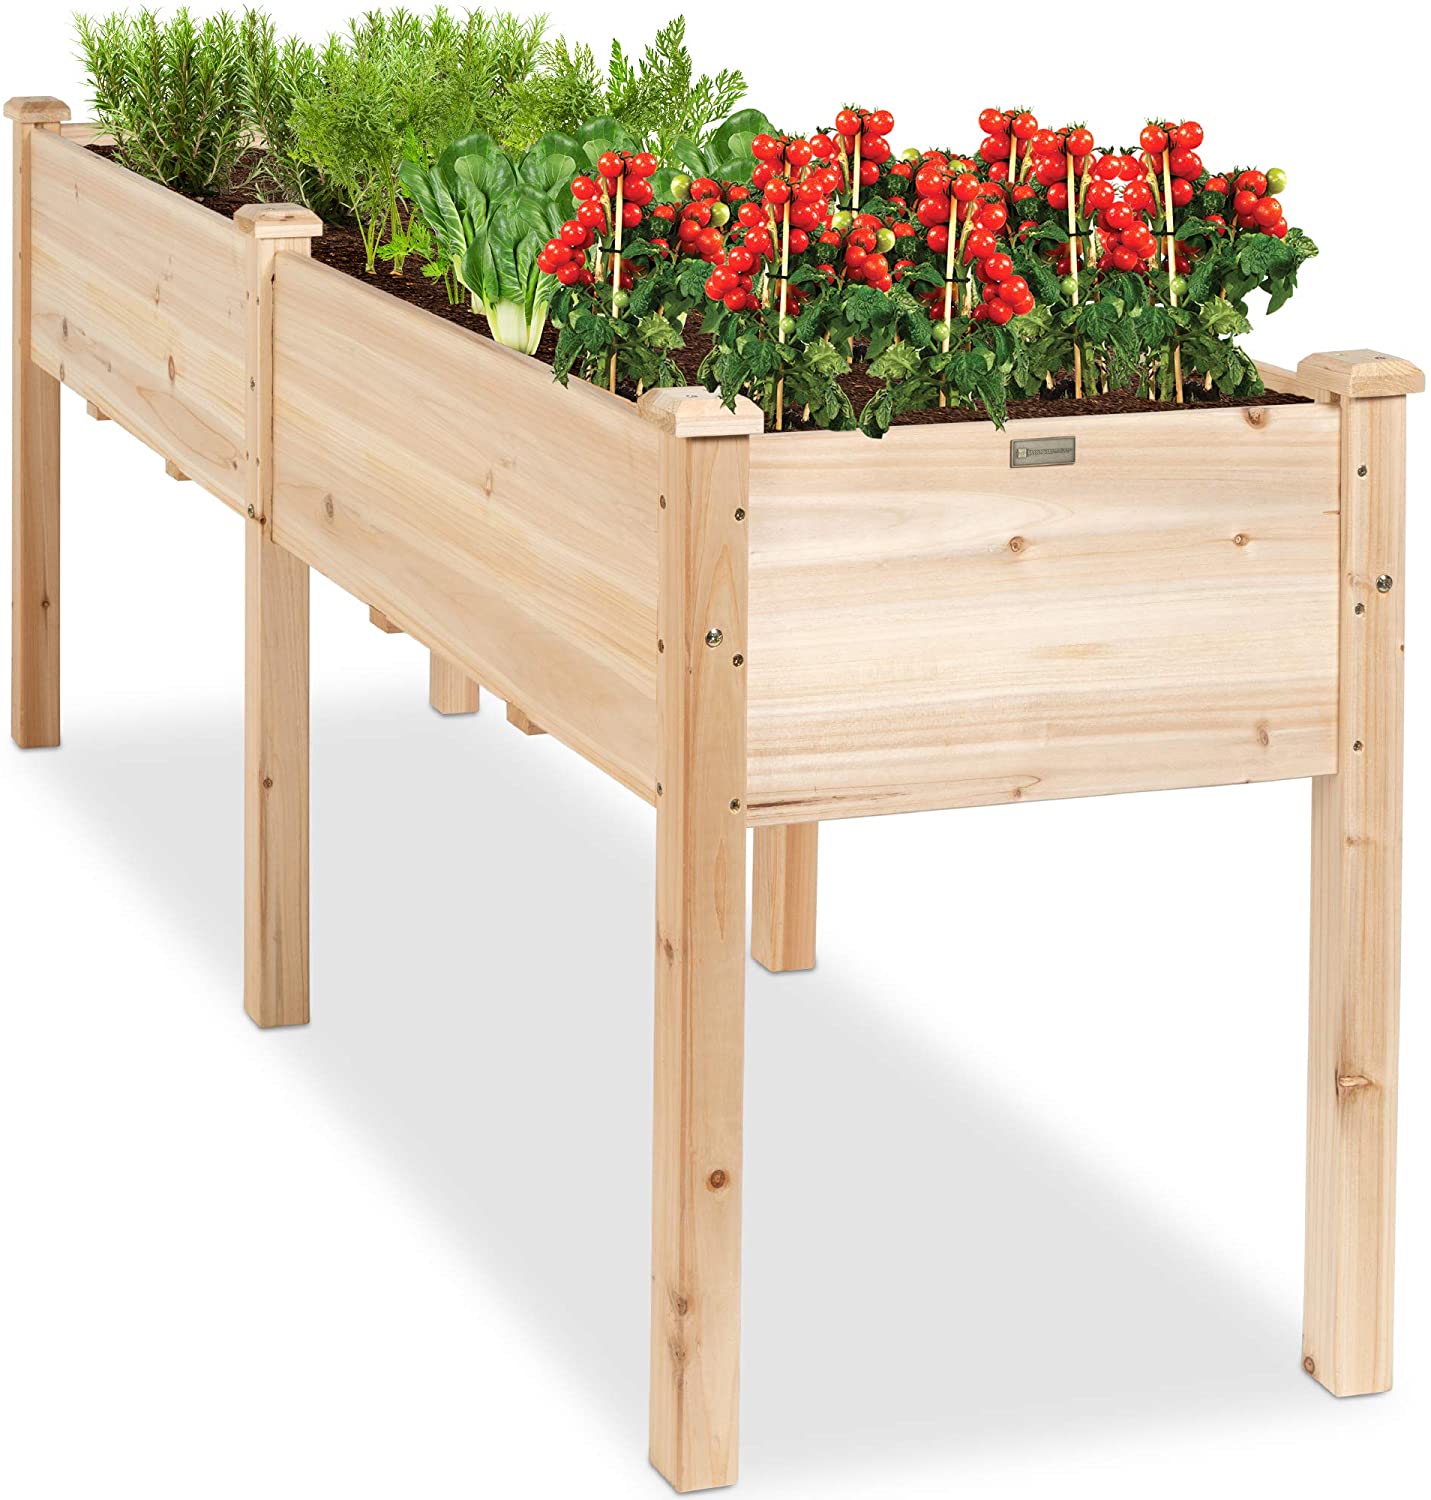
Once you’ve identified your space, what type of planter are you going to place? Is it a raised bed? elevated planter? etc. In this example most of these are considered raised beds.
Clear the area of any unnecessary items, level it out so it has a nice slope for drainage, and in this case, we have preexisting rock there, that will serve as drainage and aeration from below.
Assemble and place your planter. Selection of the size of the planter is key as overcrowding can occur (as you’ll see later) which can impact your overall harvest.
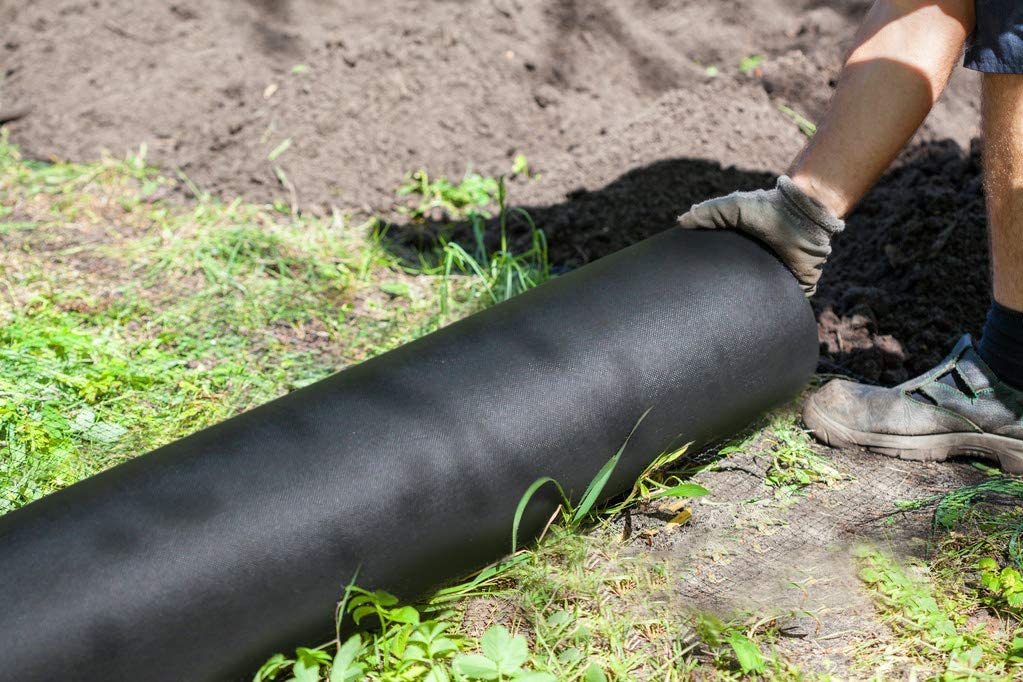
Once in place, lay down some weed ground cloth. The reason for this is twofold, you don’t want weeds coming from below and you want to “capture and retain” your potting soil of choice. Should you choose to ignore this, you will have weeding issues and soil loss over time requiring more maintenance than necessary.
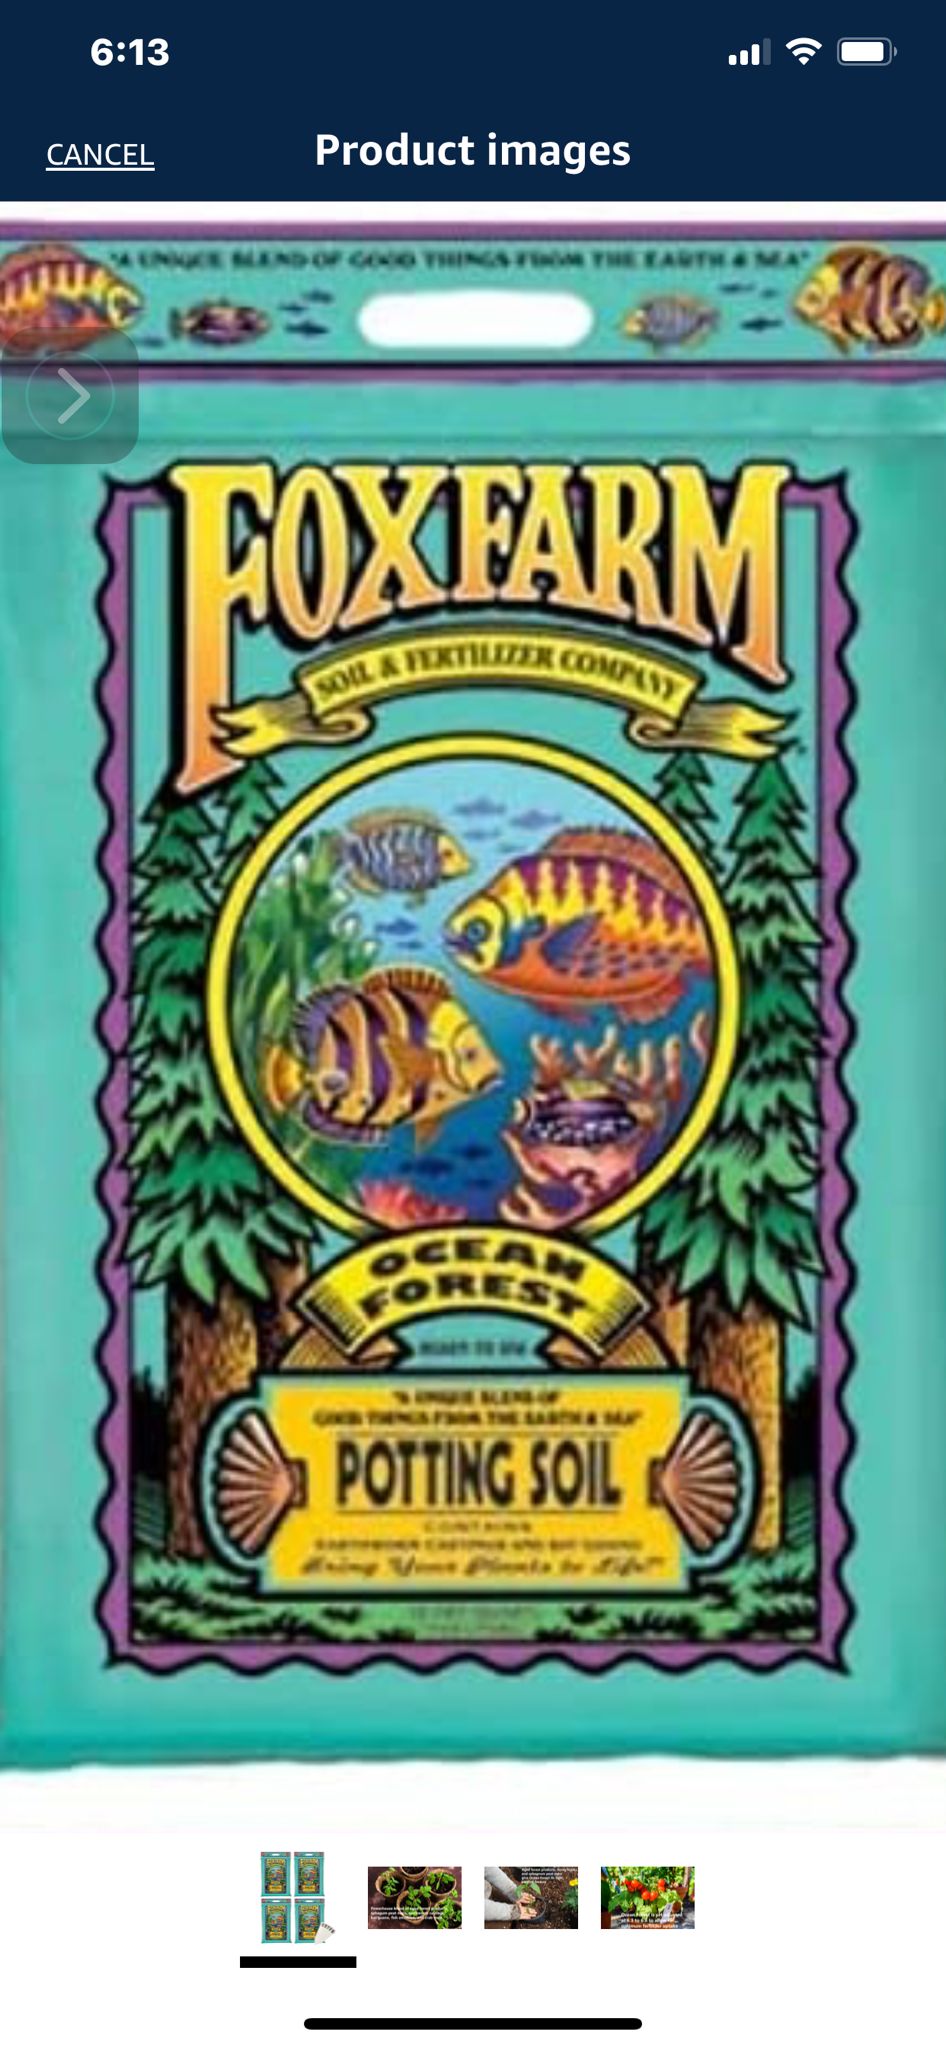
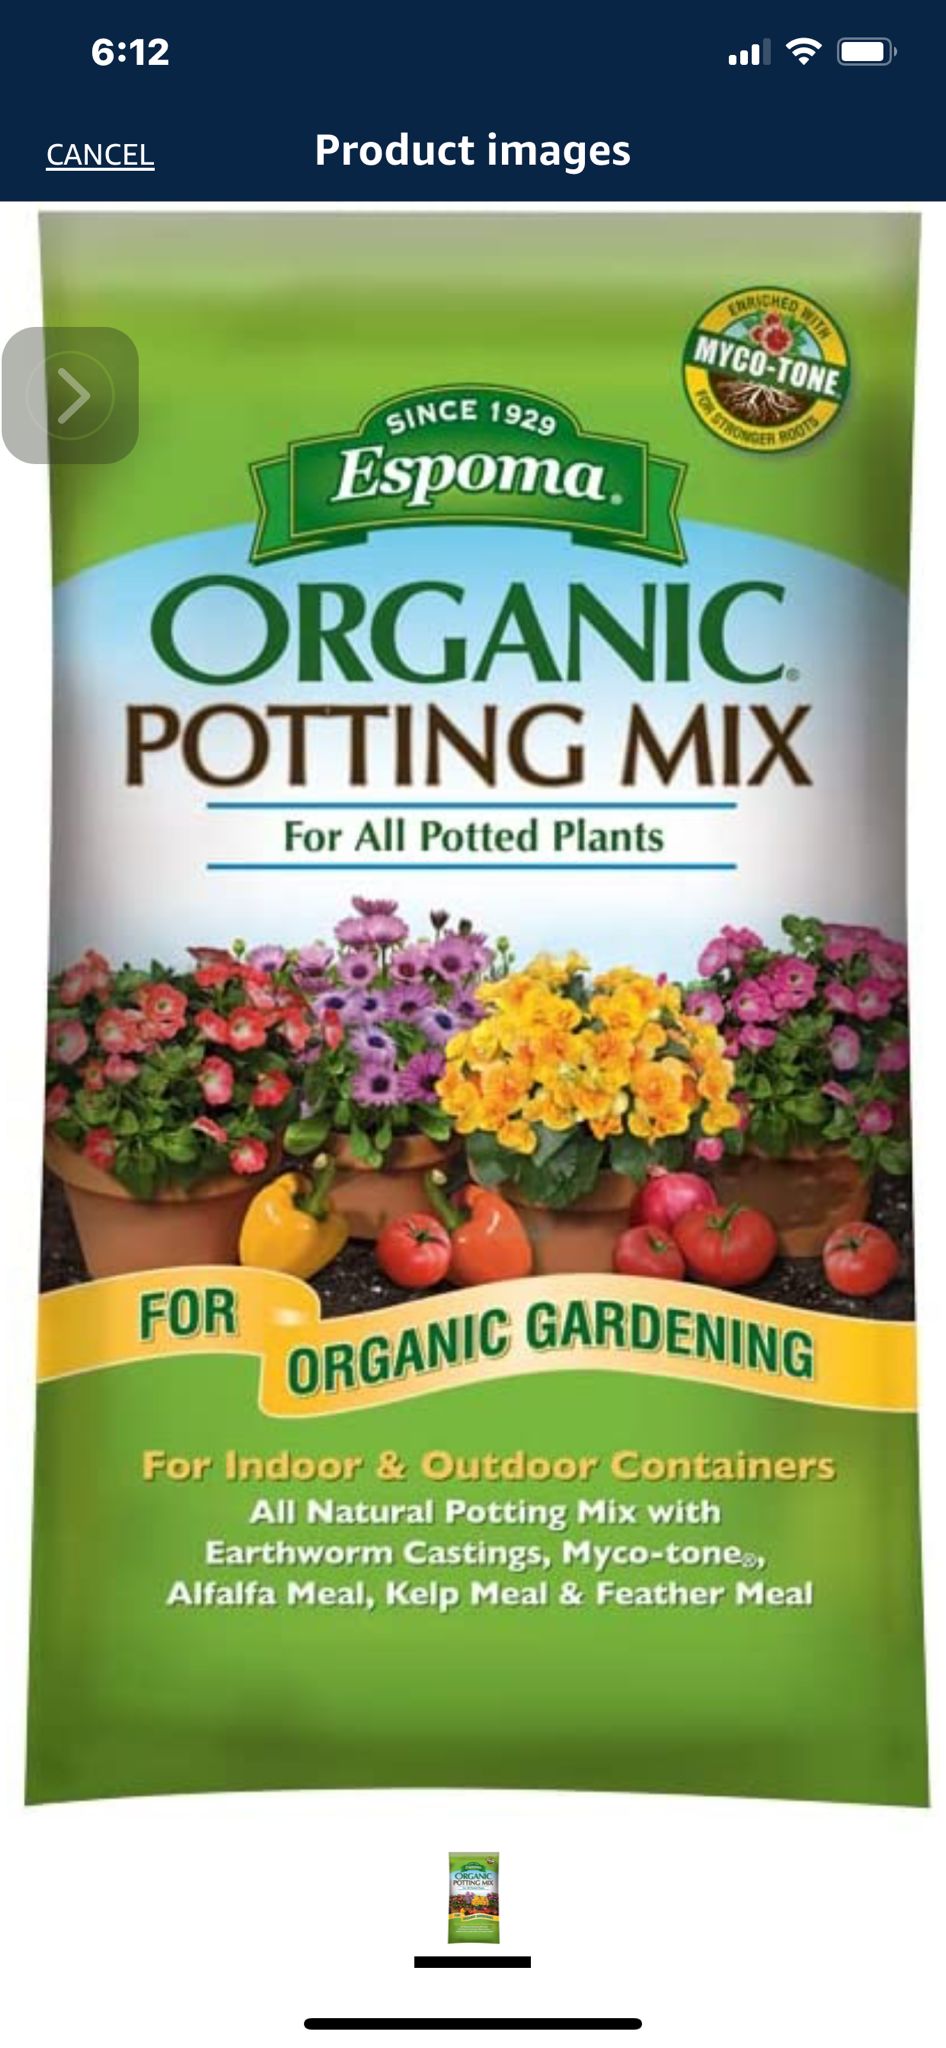
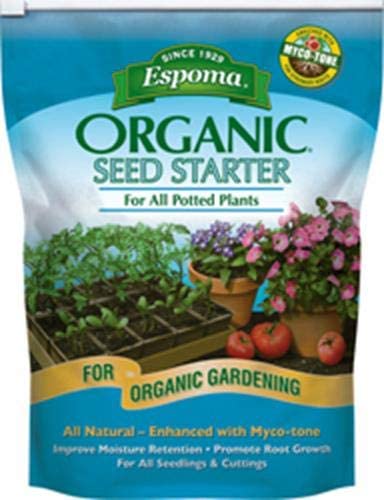
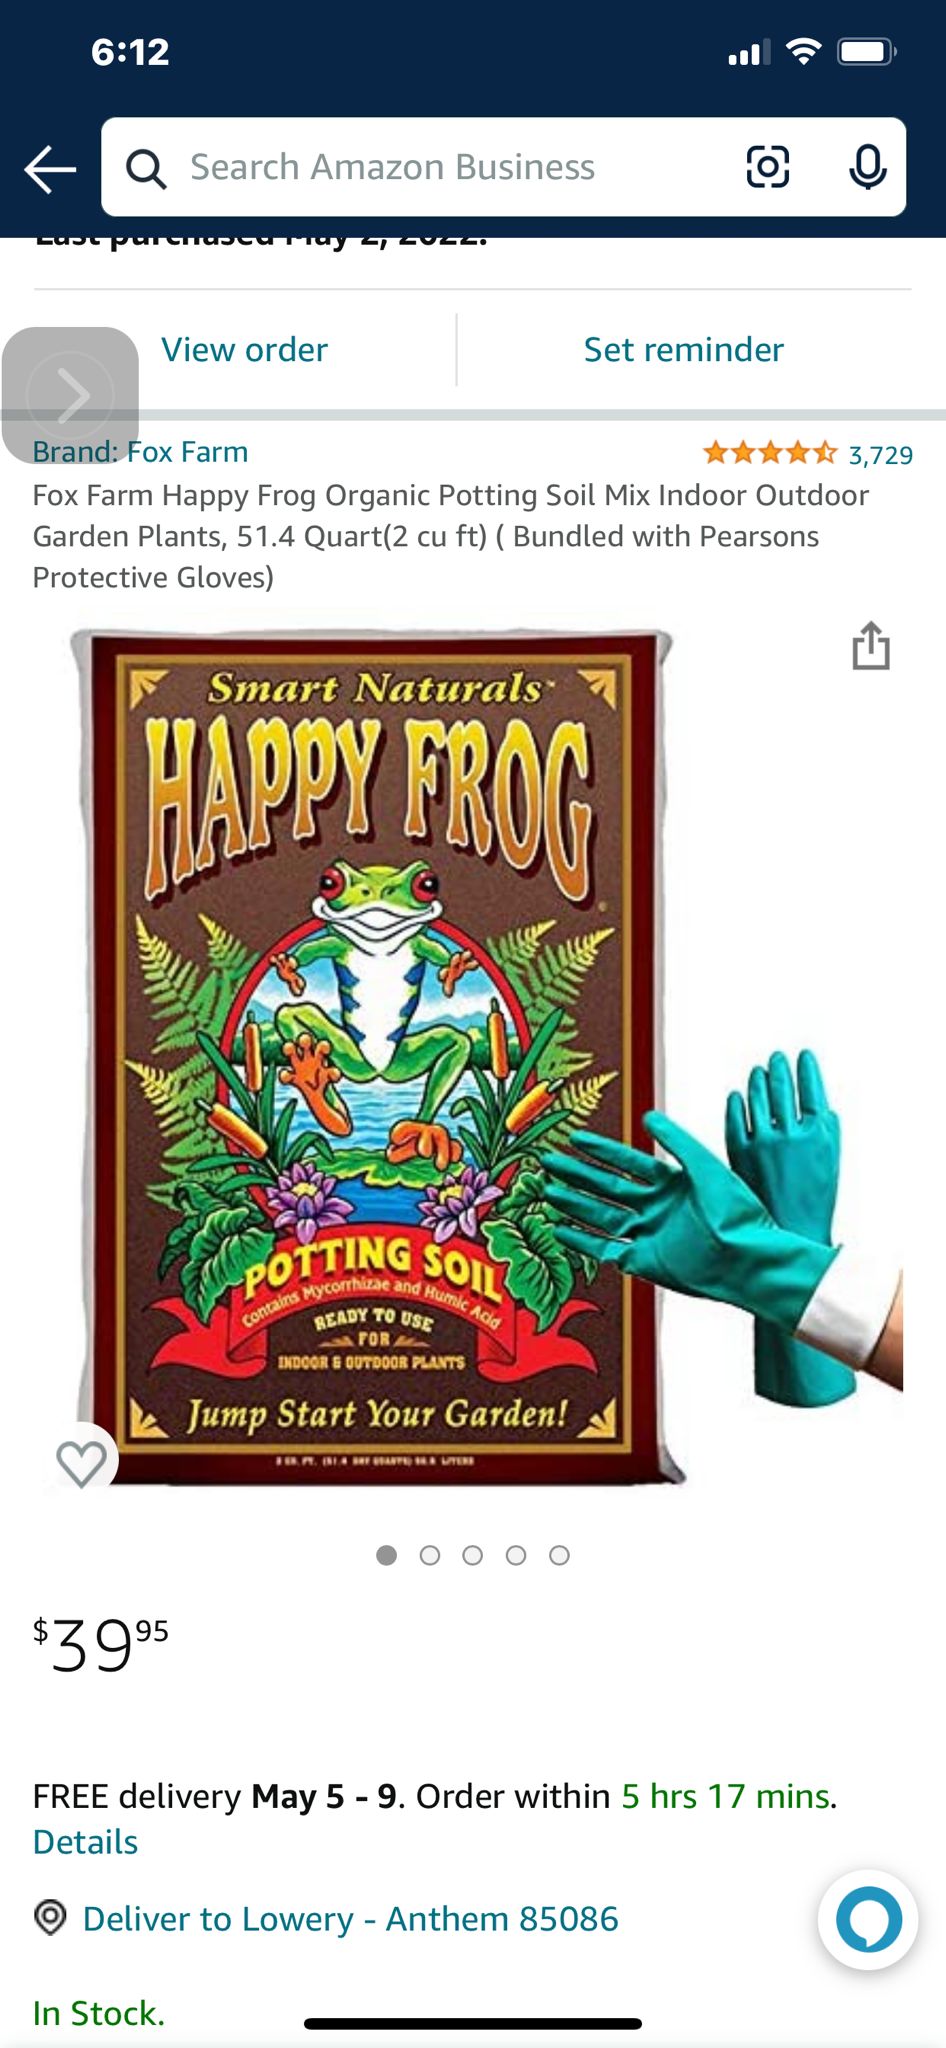
Once you’ve done this, add your soil. In this example, there’s a mix of fortified miracle grow potting soil with some enriched ocean mountain soil and even soil from Mendocino county that has been enriched by worm castings. This creates a huge growing medium that no plant can resist. There are several soils to pick from, decide what you want and experiment with that.
Irrigation is next. Do you want to water this by hand daily or more of a hands free approach? The larger the effort, the more time involved.
In this example we’re setting up drip irrigation on zone timers that will control who and what gets watered at any time allowing best pressure and distribution of the effort. Verifying it daily will ensure no ugly mistakes (and loss of water) occurs.
There’s a great provider in Florida that builds these irrigation grids to size. measure and experiment. they do a great job and will last multiple seasons. Their name is Garden-In-Minutes and they can be found at this link. Decide if you’re going the timing route and setup your irrigation to service this.
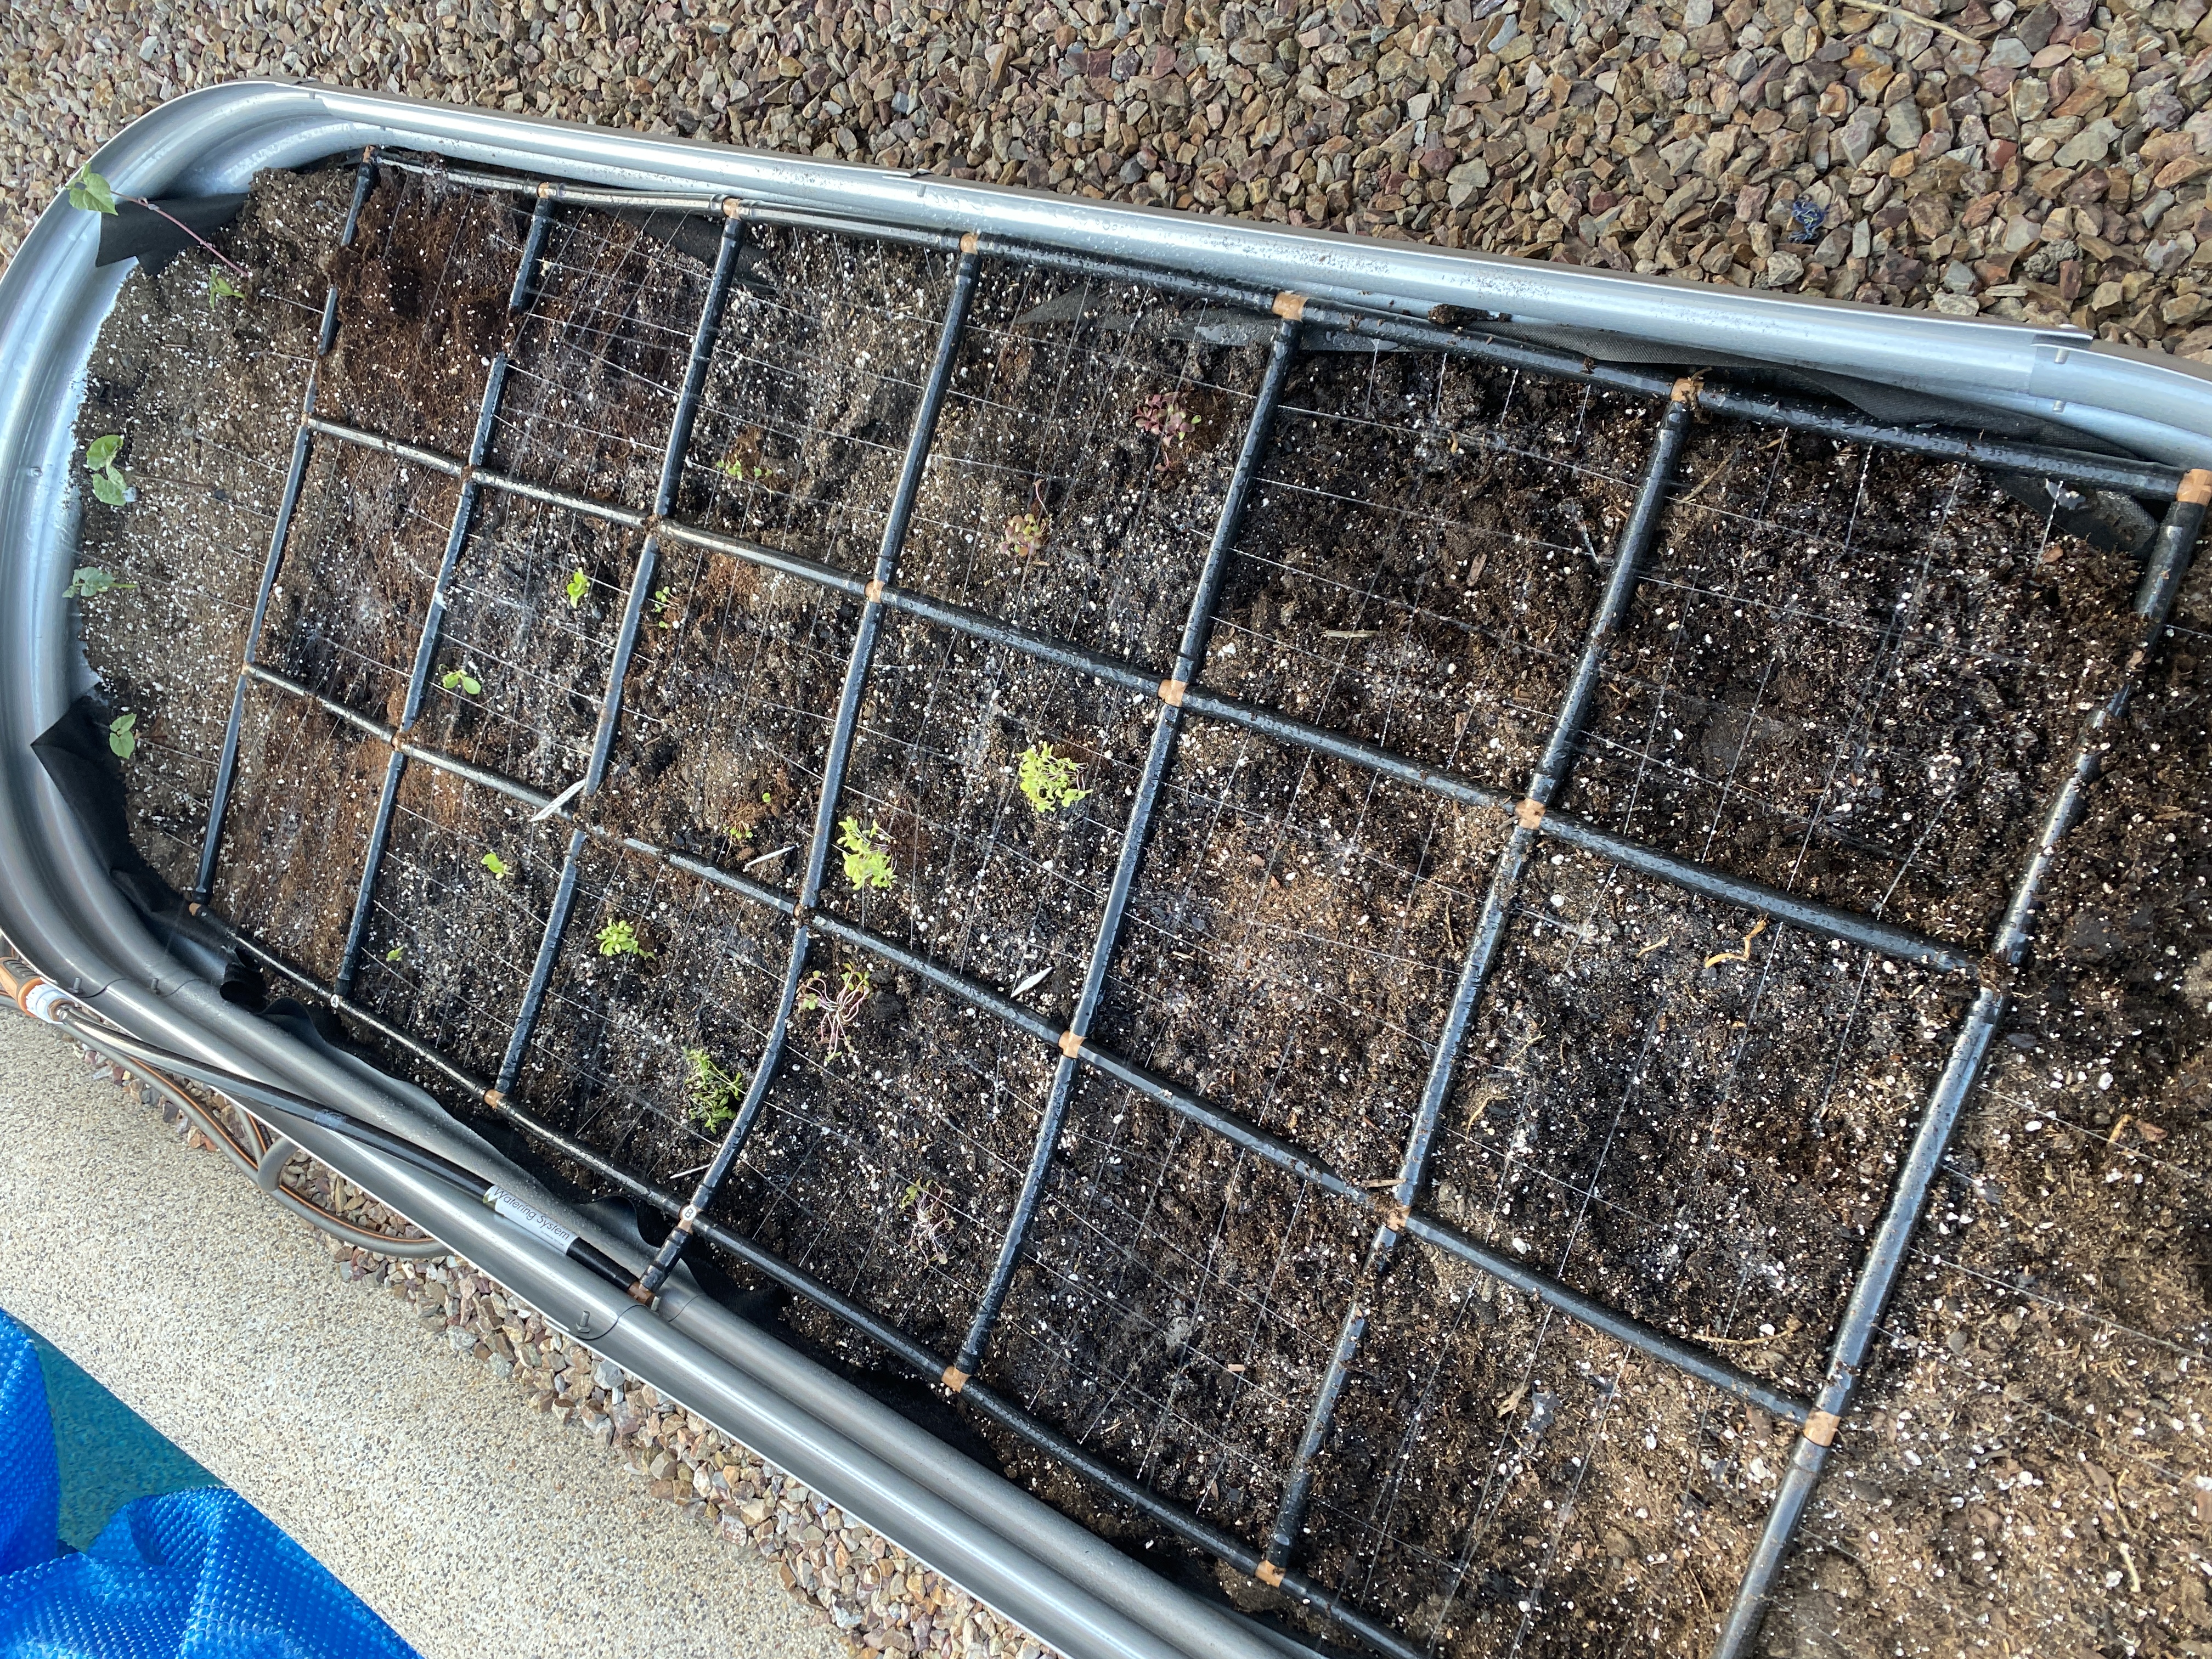
Now you have your growing medium ready for plants.
BONUS: Setup your irrigation to self water, using various manifolds and timers you can use the same feed and distribute your watering multiple times a day as well as different zones. Note: there’s a calcium filter here to remove hard water minerals that will ultimately clog timers and drip lines. Also a step down pressure regulator was used to reduce the line pressure to less than 25psi, this will also give better results on each line.

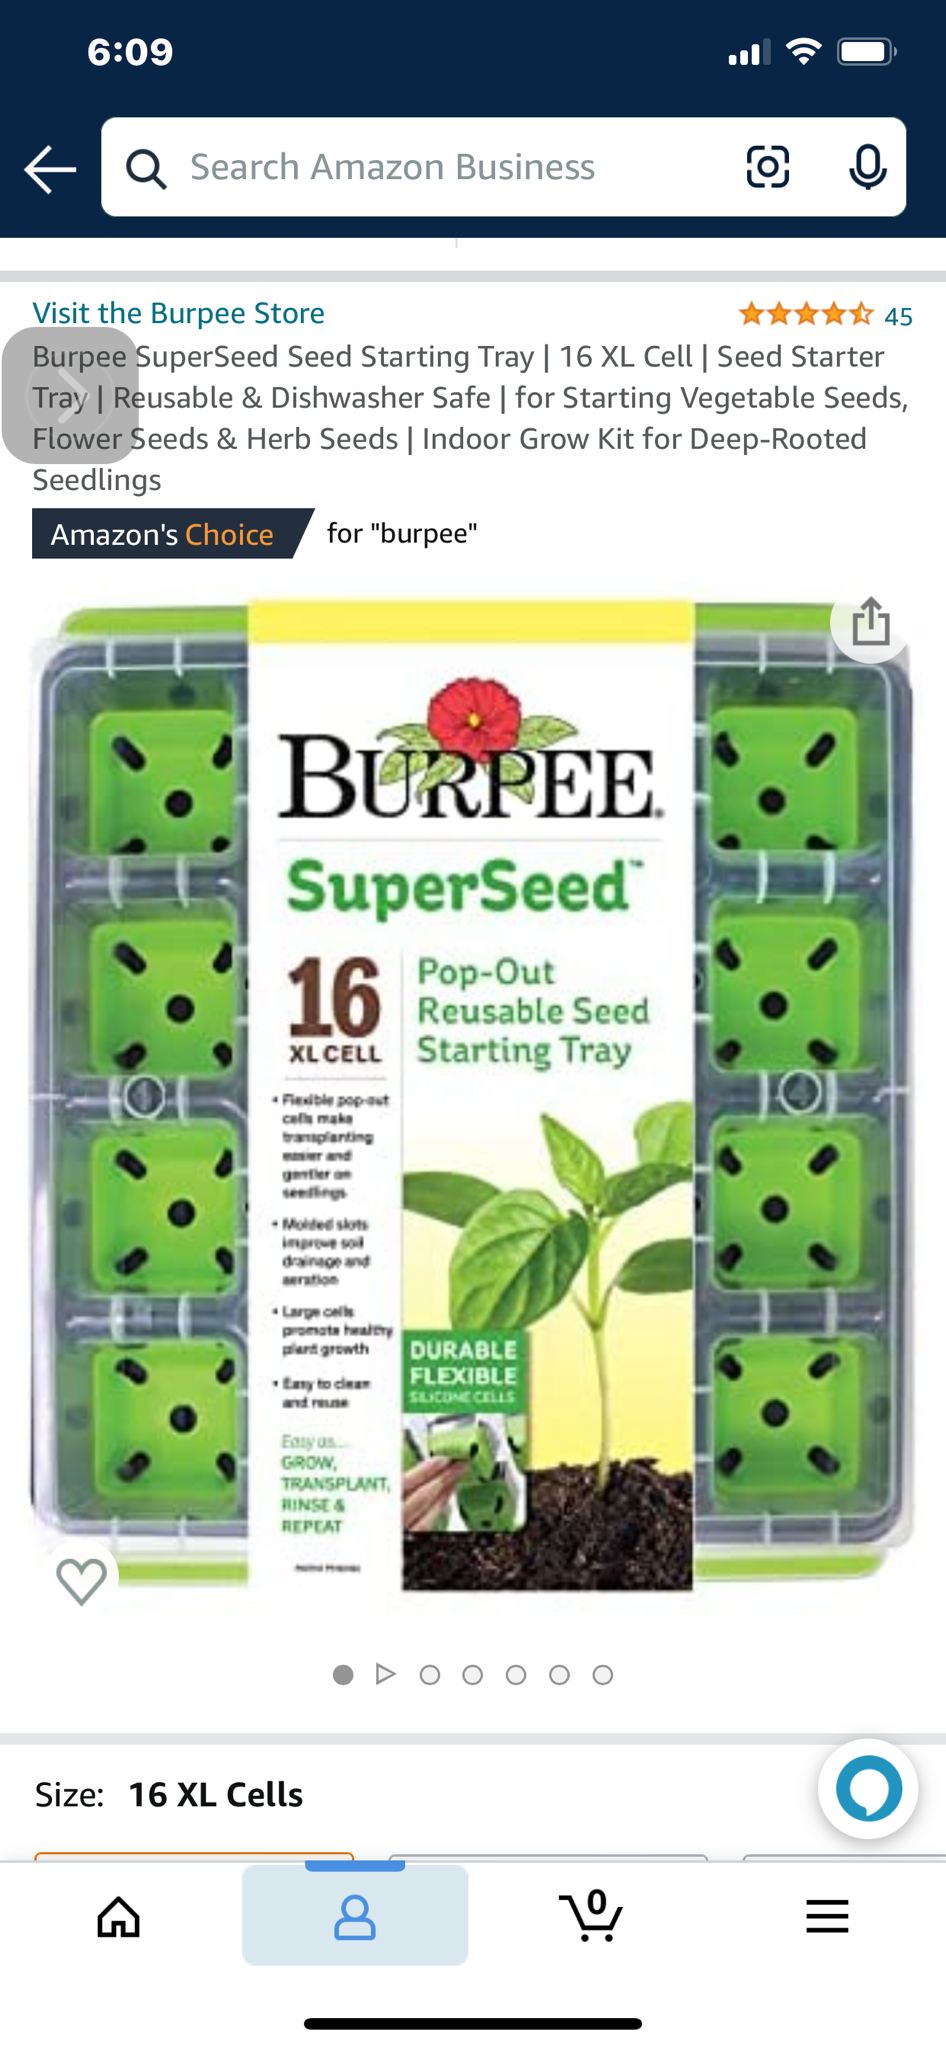
Prior to this it’s encouraged to start seed starters. Purchase non-GMO organic aka Heirloom seeds. A great source is Baker Creek Heirloom Seeds. The more common seeds are typicaly GMO and having worked for a seed company 4 decades ago, I would encourage anyone to do the more time consuming approach as the crops are far denser in nutrition and you can reap seeds from them to plant next season.

You’re going to want to decide how many grow seasons you have. Here in the Southwest we have close to 4. The winter season starting in November, harvesting in Jan/Feb, the early season starting in February/March harvesting by June, the latter starting in May harvesting in July/Aug and the fall starting in August/Sept harvesting in November. You can even do a winter season as our temps rarely get to freezing, but you need to cover them during the much cooler nights. As always seedlings are tender, shelter them the best you can.
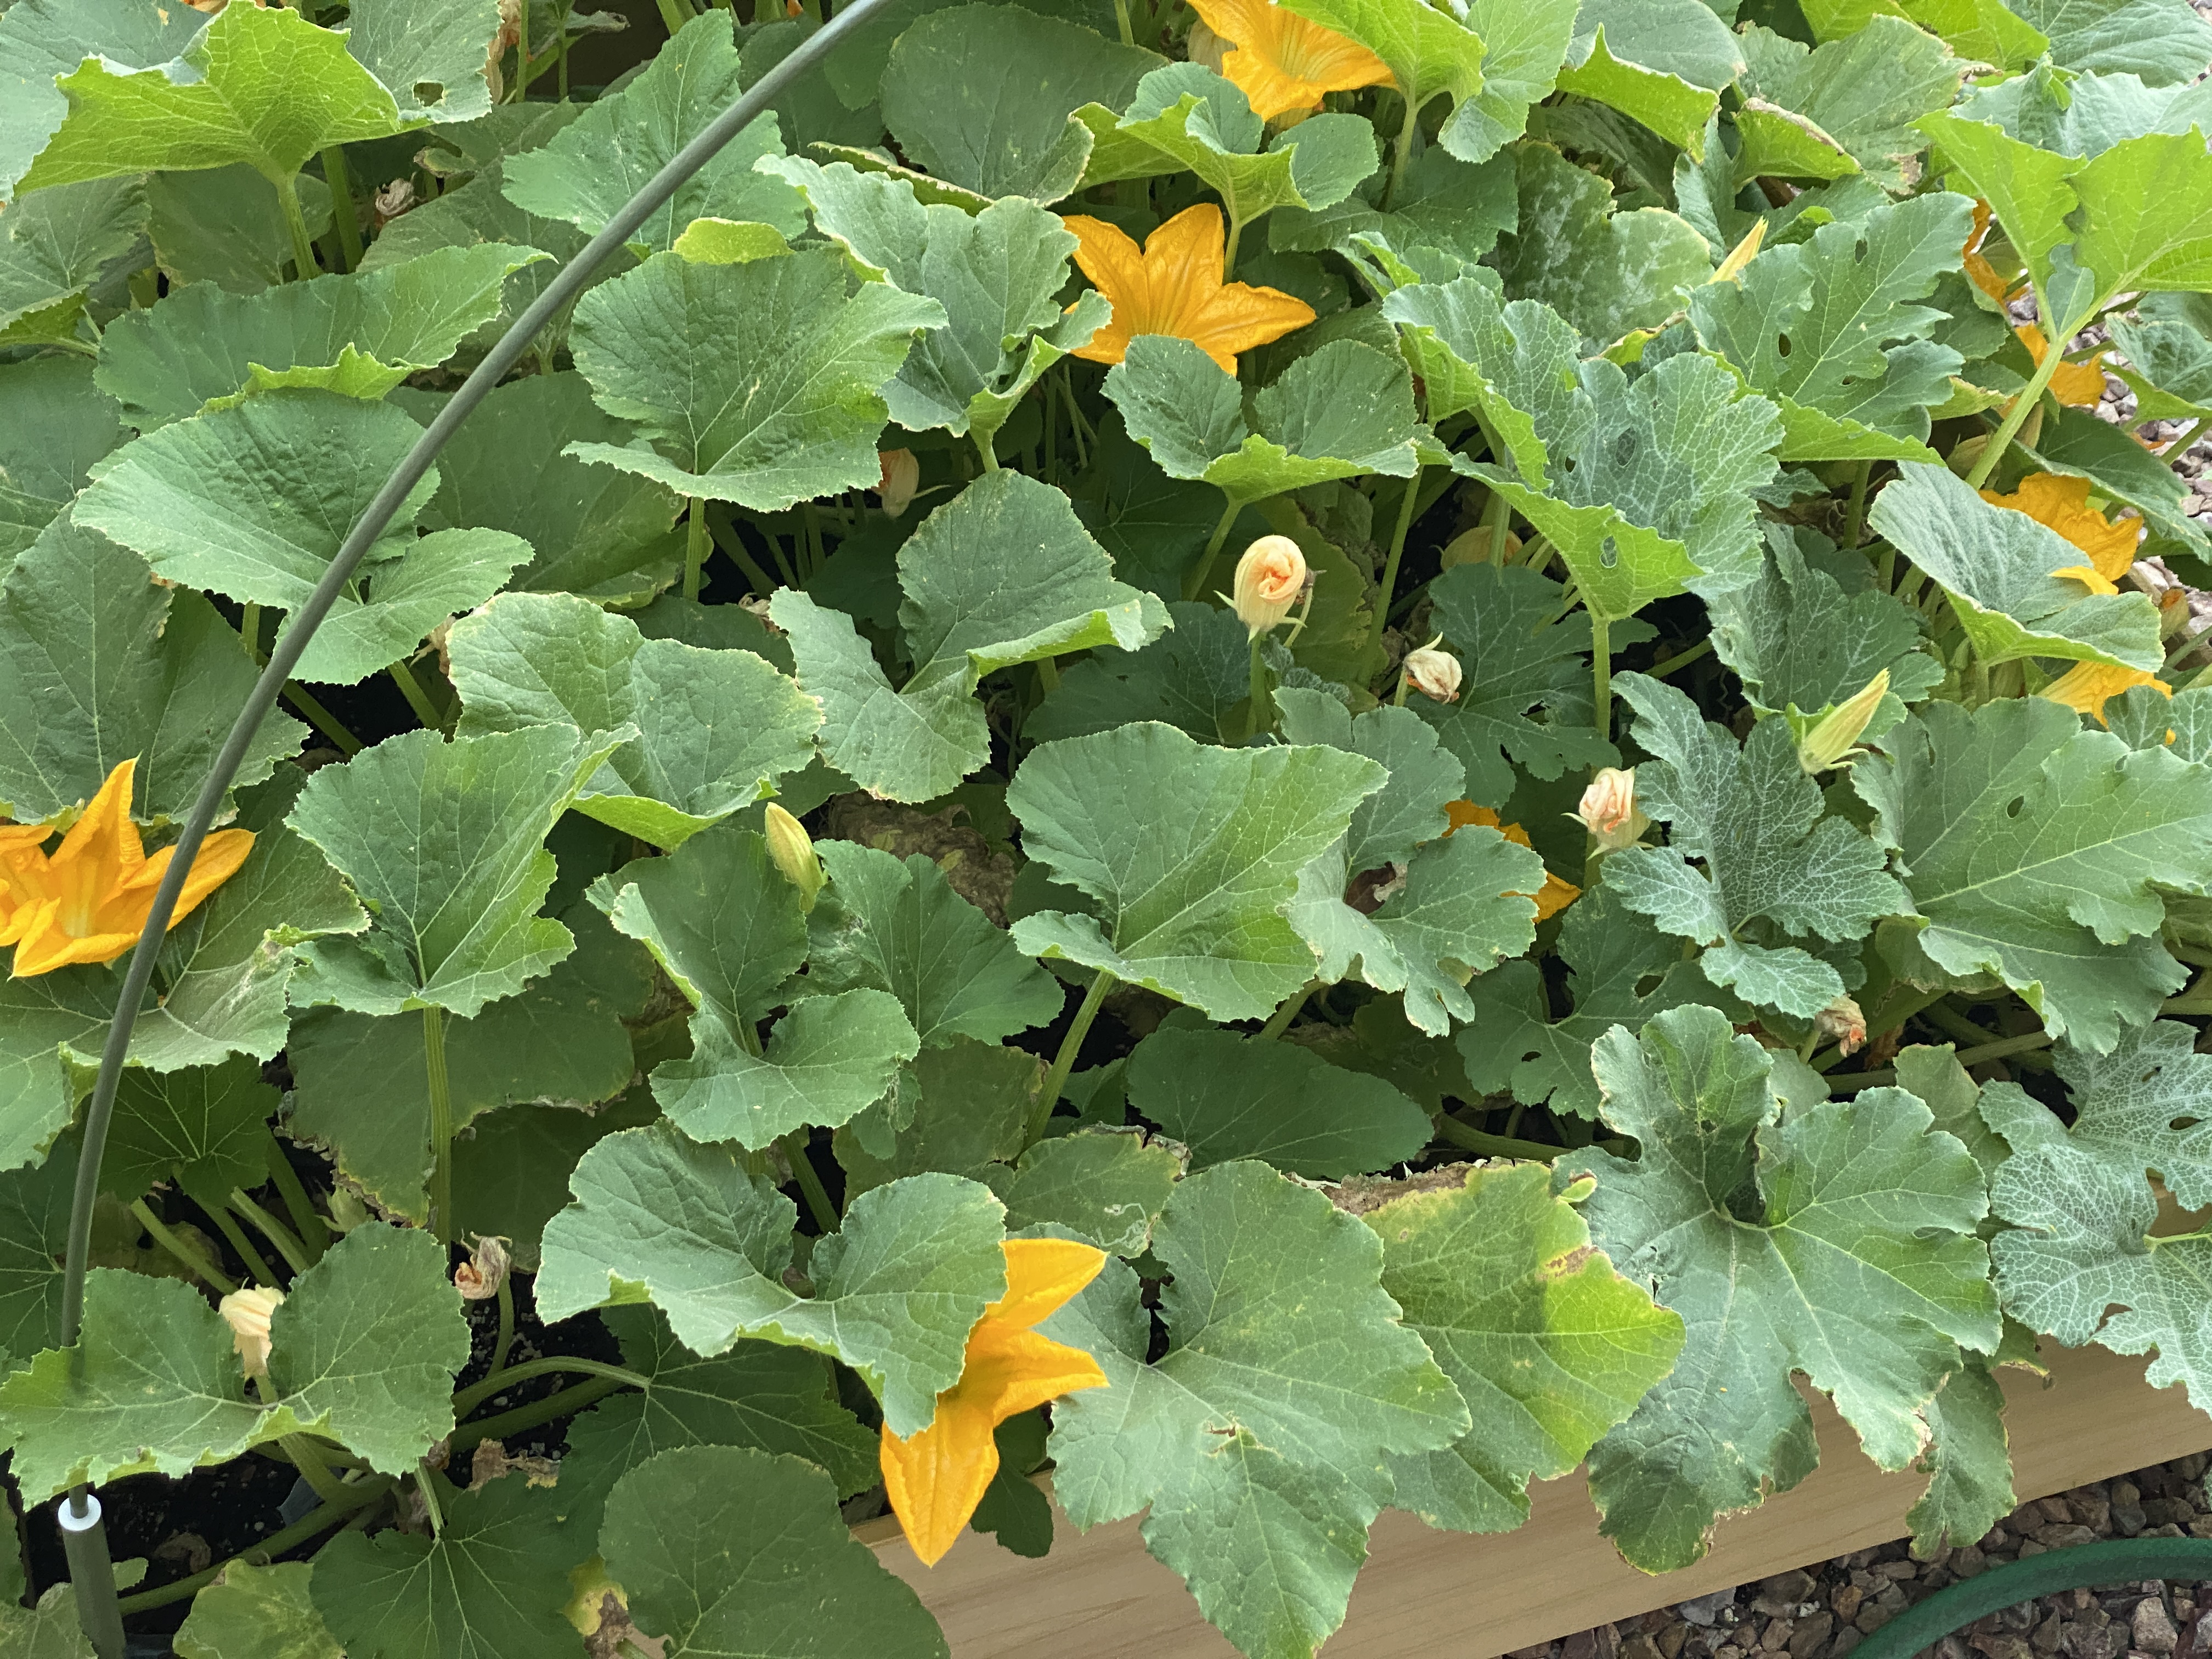
You can jumpstart your growth by buying early “starters” at the nursery. Look for heirloom and non-GMO, but you’ll be hard pressed in most cases for those. This will at least get you going though. Great early crops are spinach (30 days), tomatoes, peppers, squash, cilantro and many herbs. Mint is a must if you want to dissuade rodent activity. just intersperse it in your planters
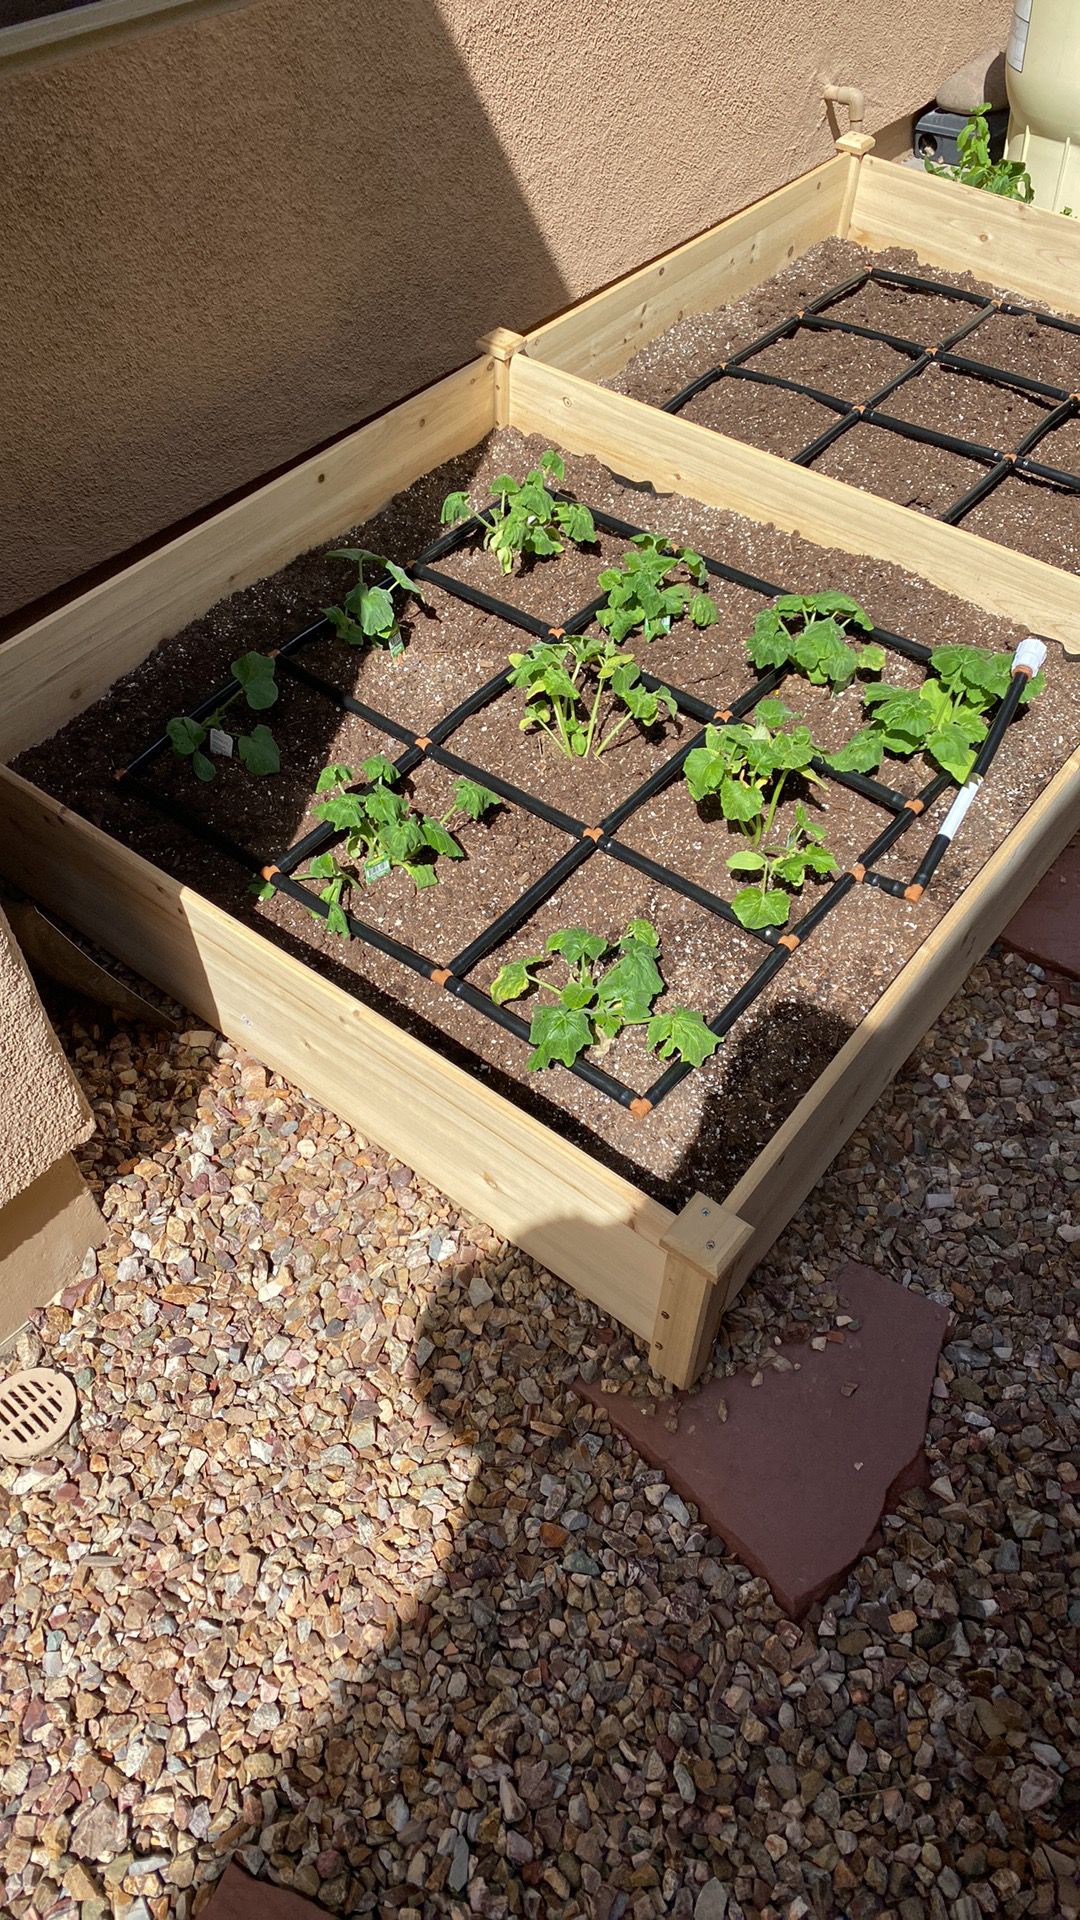
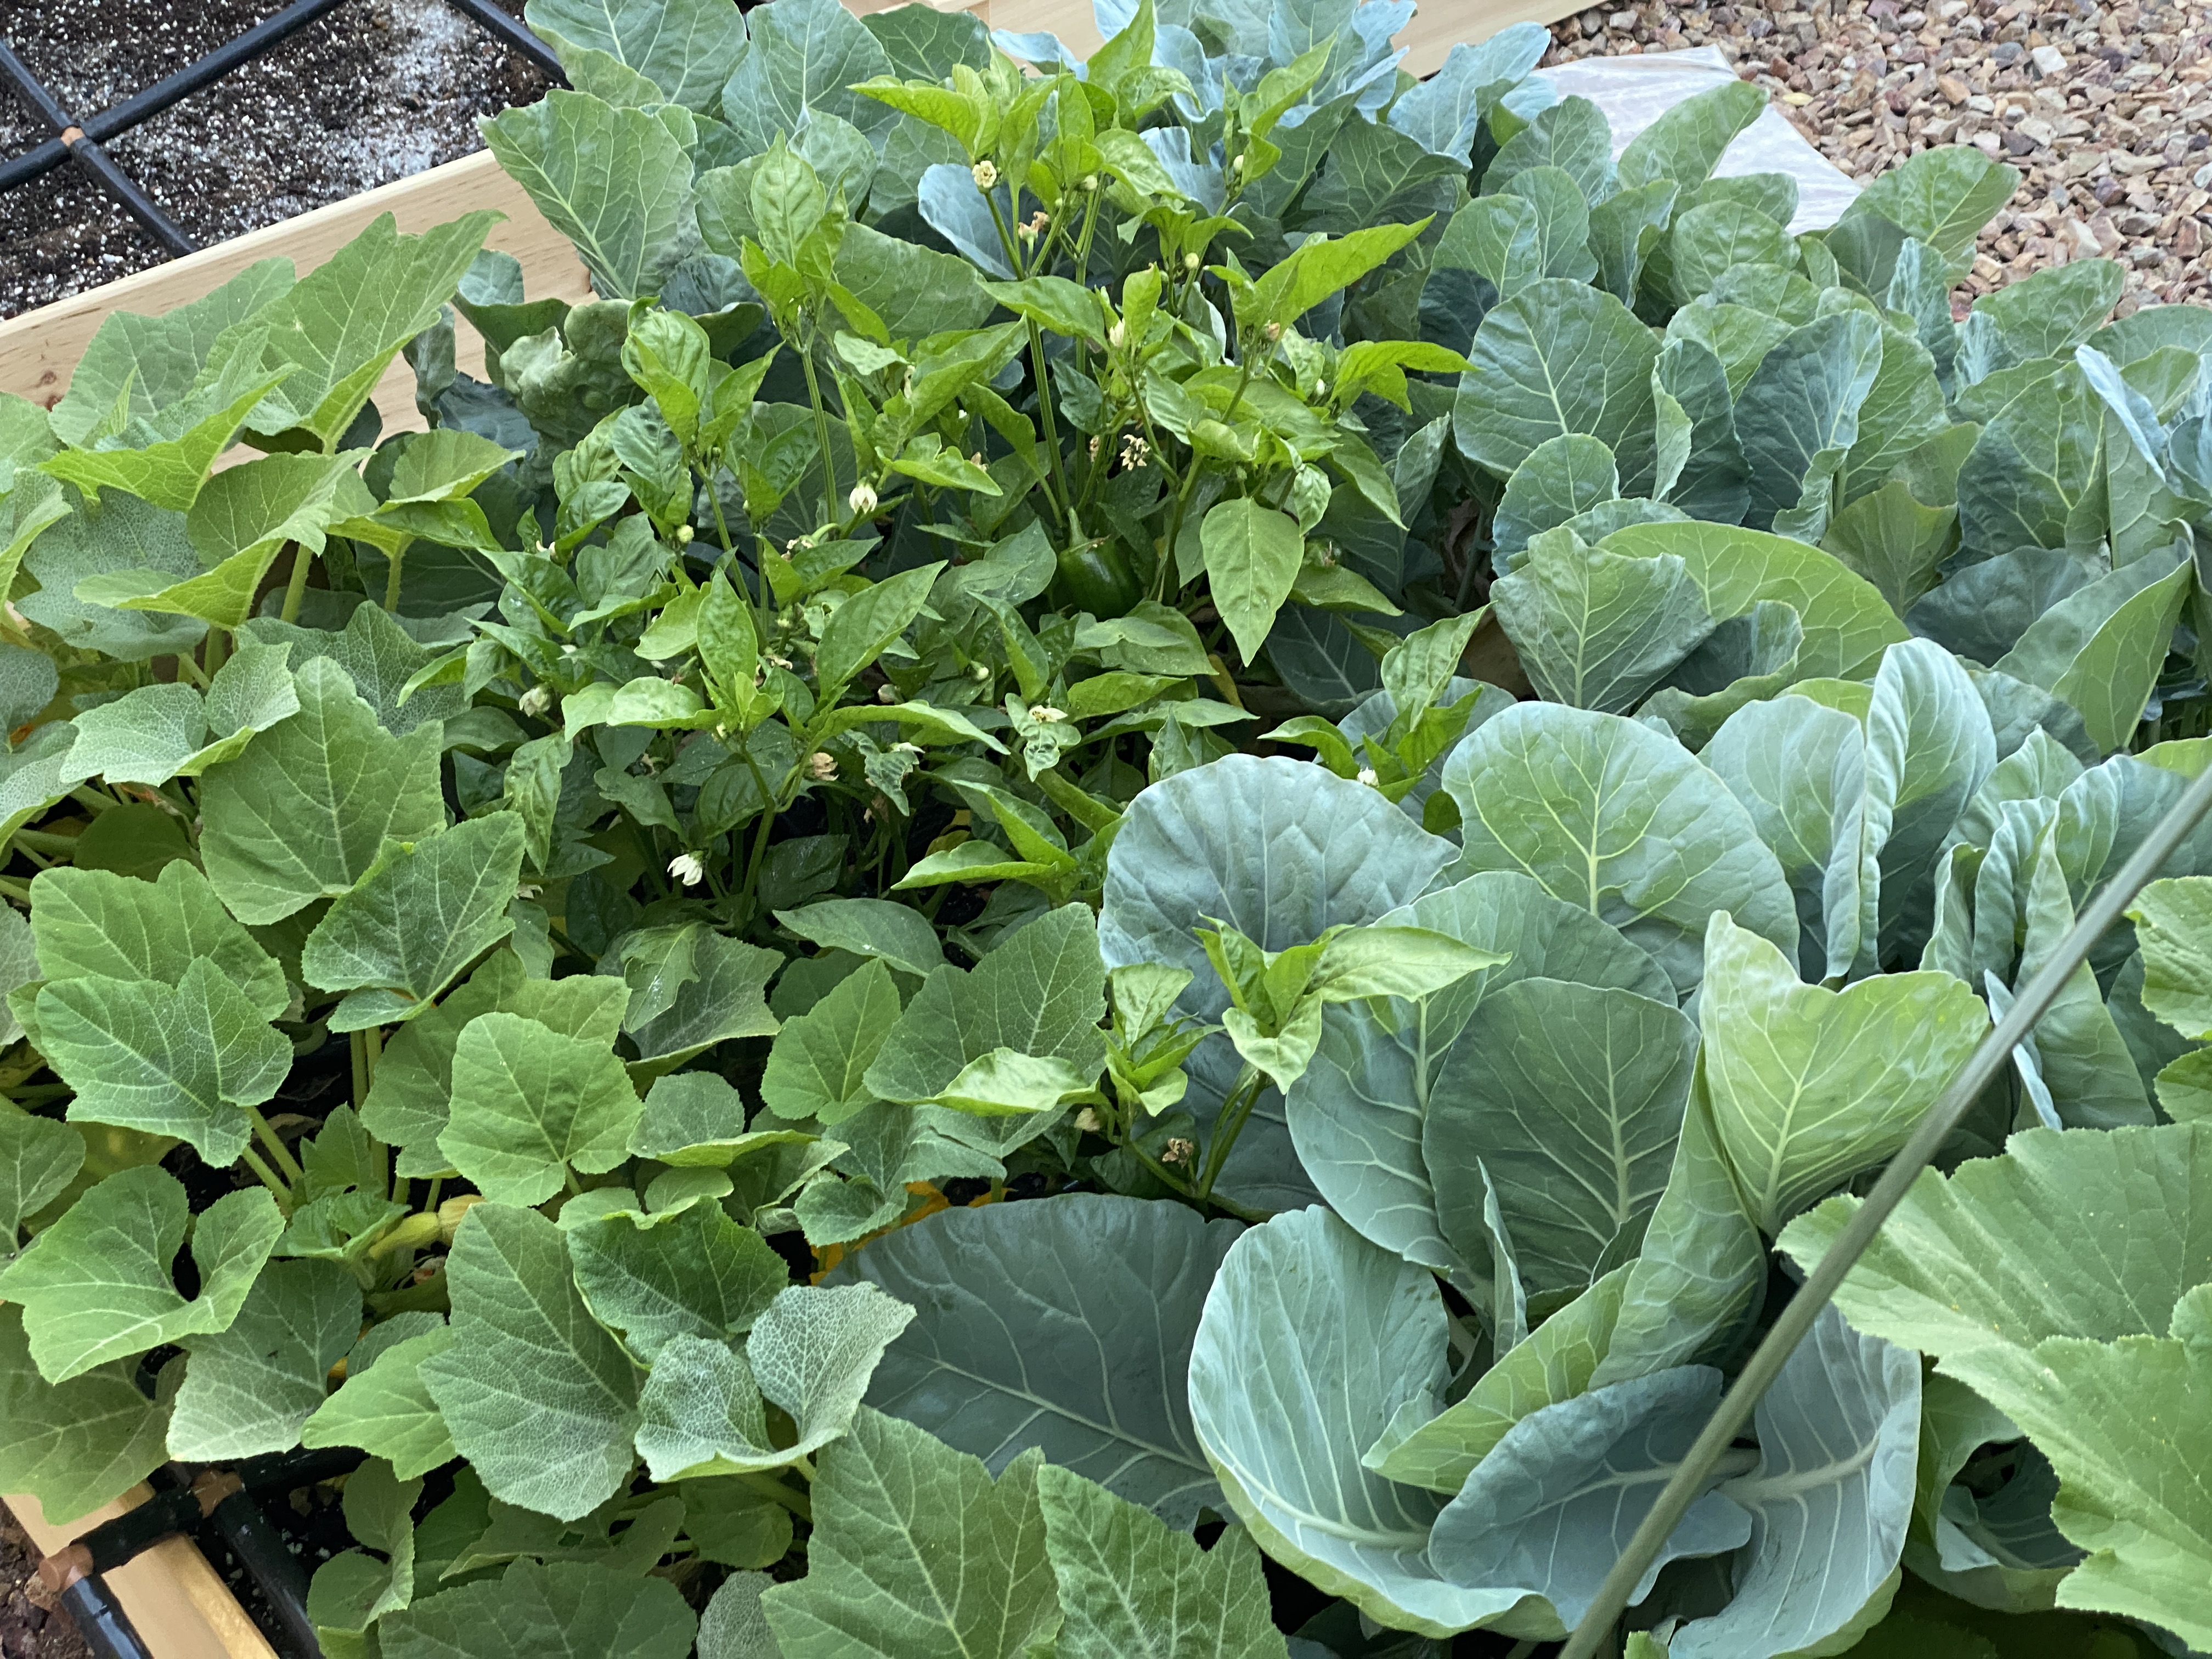
Plant your plants with at least a foot between them, typically more, but make the choice of a dense result with less produce or more sparse (less plants) with more results. It’s about the same, but you’re needs will vary.
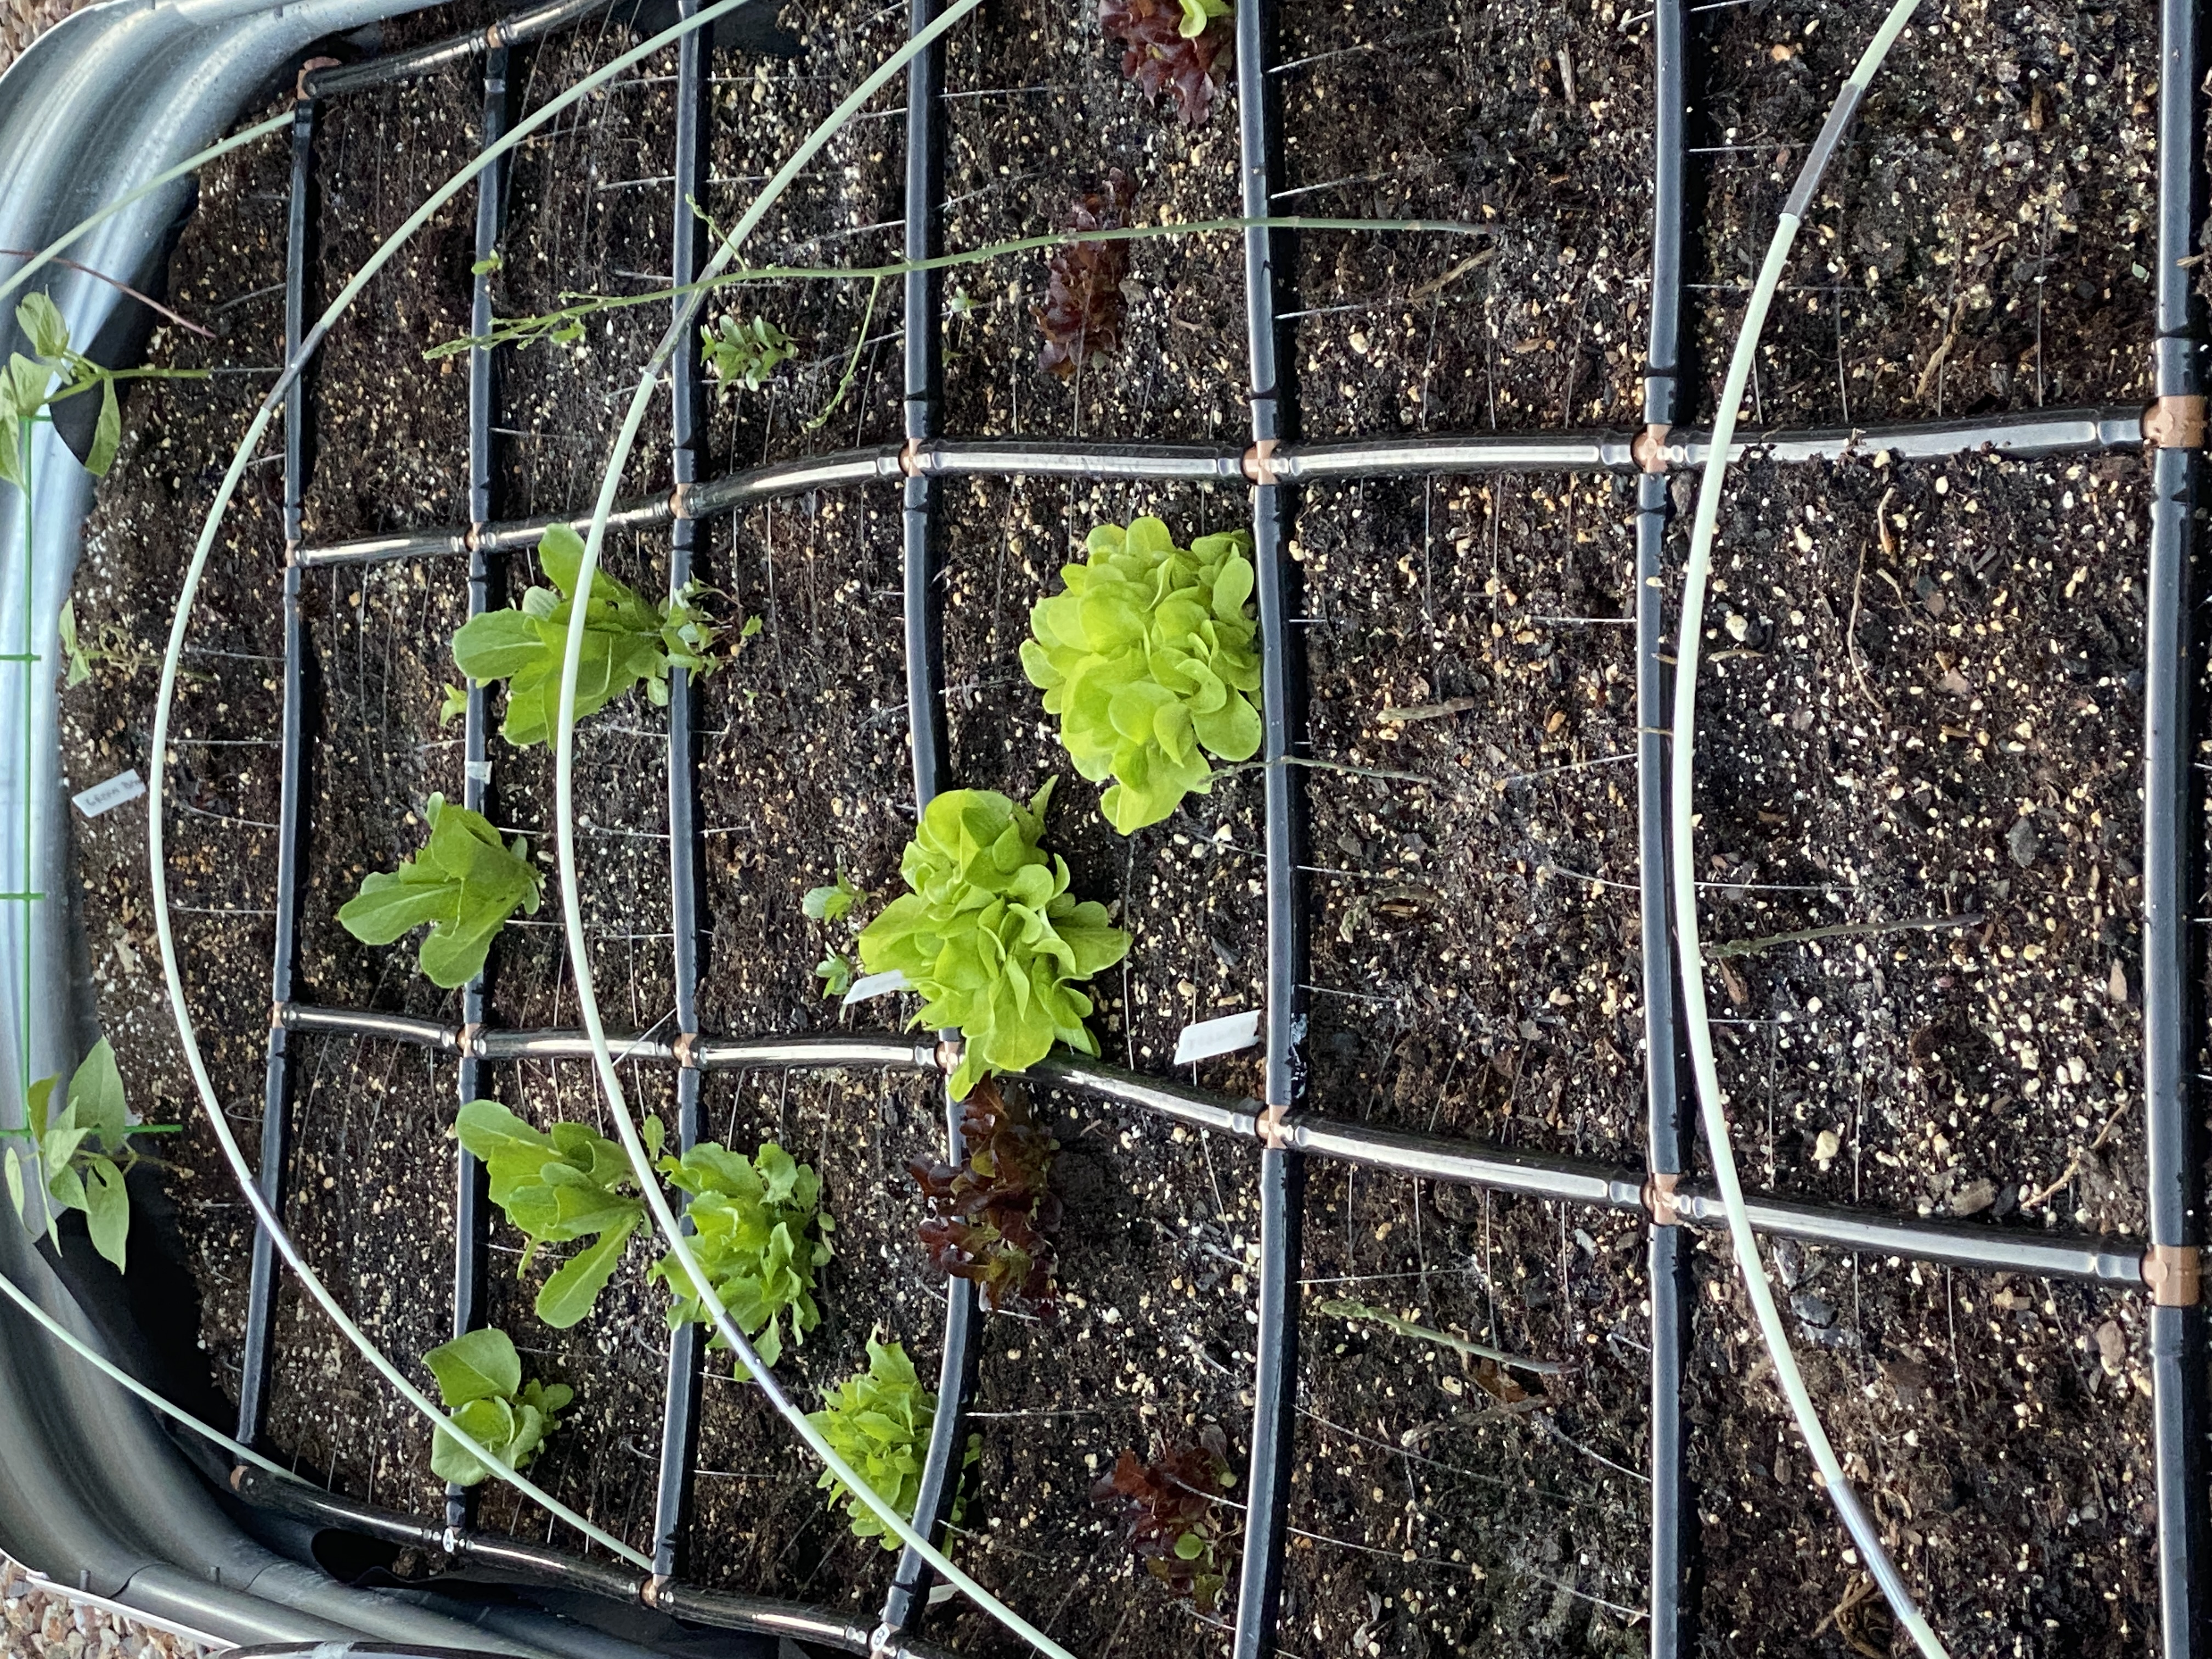
Jot down your planting dates and look up harvest cycles for them. For example, spinach is typically a 30-40 day crop…corn twice as long…know your estimated harvest times so you can be prepared and you should see the plants coming along as that times approaches.
Watering should always be first thing prior to sunrise, and depending on locale, a later afternoon water in the summer is prudent. Additionally, examine your leaves, if you start to see evidence of pests (holes in your leaves) invest in some organic pest control. I always start with ladybugs. They eat all the white flies, then once they fly off, I use organic sprays to prevent recurrence. We see grasshoppers here as well, they can be pests eating your greens, so act appropriately, and prevent them early on.
Check your soils for various nutrients and have several supplements (potash, fishnure, etc) on hand to enrich your soil as you move forward.
As you gain experience, estimate how many pounds of each you’re going to consume and plant accordingly. If you’re eating about 30# of tomatoes a year, then plant to harvest that. It takes a bit of timing, but practice and you’ll be shopping in your garden first thing every morning planning the days meals.
Items we consider for a robust vegetable garden:
Lettuce (various varieties)
Tomatoes
Radishes
Turnips
Beets
Leeks
Garlic
Onions
Horseradish
Ginger
Squashes (many varieties)
Peppers (bell as well as hot)
Broccoli
Cucumbers
Zucchinis
Peas
Beans (too many to list)
Cilantro
Corn
Purple Asparagus (order crowns, they will produce for you this year)
Puerto Rican Sweet Potato Starts (zone 9 growing)
Berries (varies on varieties) Starts (that’s the root with small foliage on top)
Although melons would grow, they take up too many resources for us
Citrus will grow anywhere, so give it a go